Help Center
Add hidden fields to ActiveCampaign forms
ActiveCampaign is one of the more popular CRM and email marketing tools in use today, and it comes with a basic but functional form builder that you can use to capture leads on your website and import them into ActiveCampaign
Attributer can work with ActiveCampaign forms to capture marketing attribution information on each of your leads. Here’s how to set it up.
Step 1: Add 6x custom fields to the Contact object
To get started, you first need to add a number of custom fields to the Contact object in ActiveCampaign.
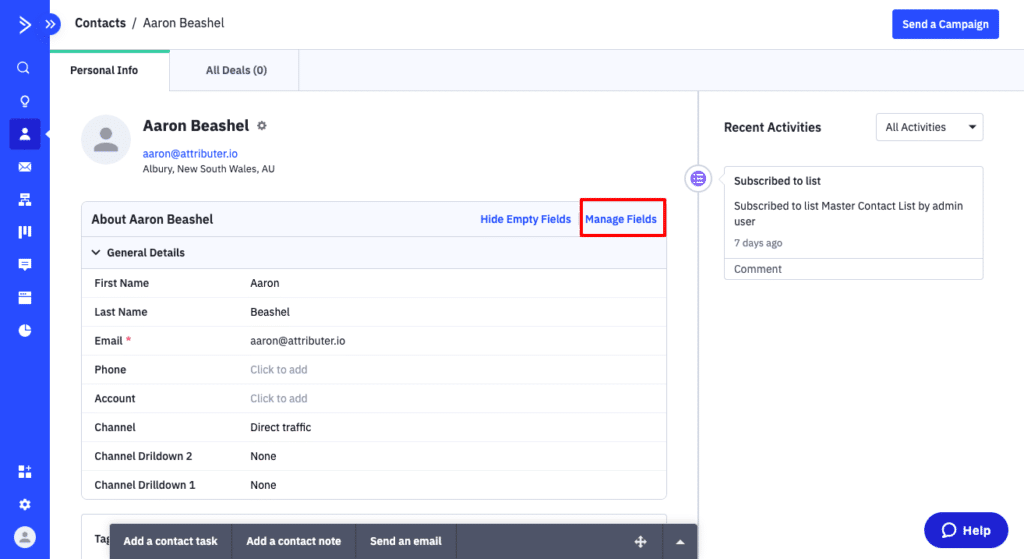
To do this, open one of your existing contacts in ActiveCampaign and select the ‘Manage Fields’ button.
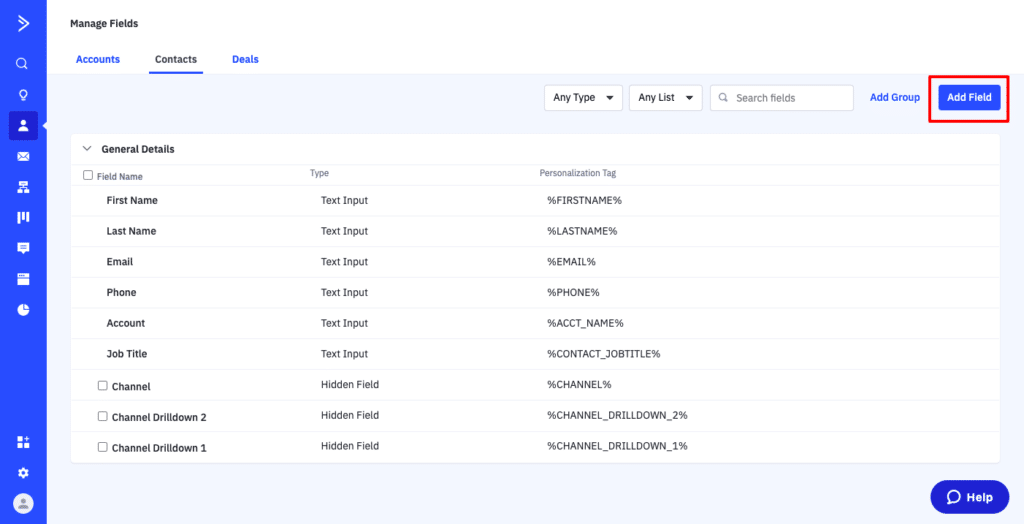
Once on the Manage Fields page, select the ‘Add Field’ button in the top right corner.
In the popup that appears, enter ‘Channel’ as the Field Name and select ‘Hidden Field’ as the Field Type. You can select whichever Group you want.
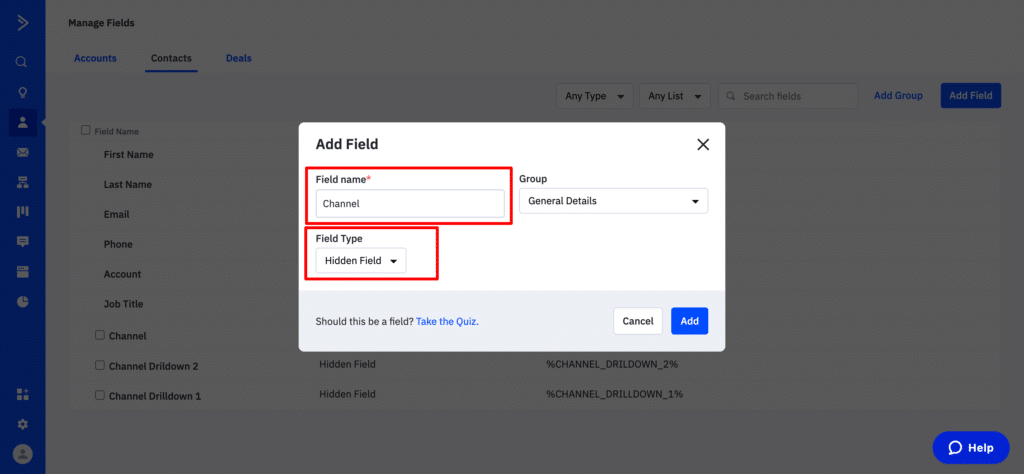
Once you’ve enter the above information, click the ‘Add’ button in the bottom right corner to add the field.
Congratulations you have now successfully created a custom field called ‘Channel’ which is the first custom field that Attributer needs.
Now, you need to repeat this process a few more times to add all the required fields. Here’s the data you need for the following fields:
Field #2
- Field Name = Channel Drilldown 1
- Field Type = Hidden Field
Field #3
- Field Name = Channel Drilldown 2
- Field Type = Hidden Field
Field #4
- Field Name = Channel Drilldown 3
- Field Type = Hidden Field
Field #5
- Field Name = Landing Page
- Field Type = Hidden Field
Field #6
- Field Name = Landing Page Group
- Field Type = Hidden Field
Step 2: Configure the fields
Now that you’ve added the 6x custom fields that Attributer requires, it’s now time to configure them.
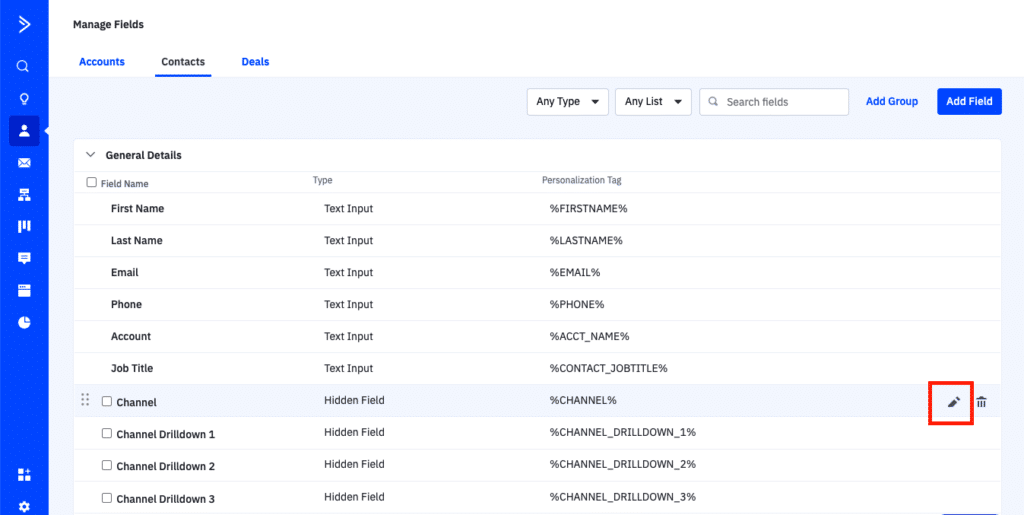
To configure a field, simply hover over it in the list of fields and then click the pencil icon on the right.
Then in the popup that appears, you’ll want to add some text to the default value field. See screenshot below to understand which one is the default value field:
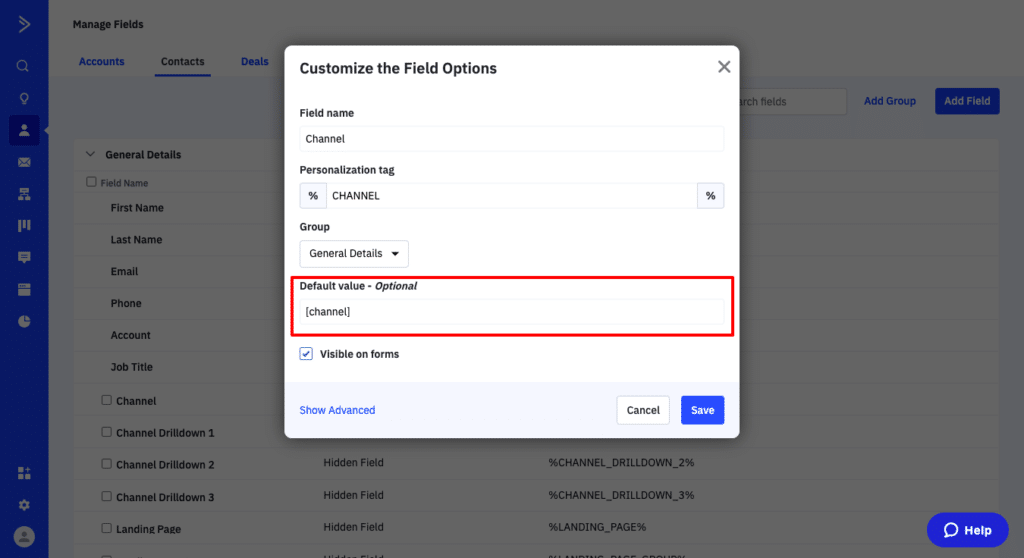
The text you want to add to the Default Value field depends on which field you are editing (I.e. Channel, Channel Drilldown 1, Landing Page, etc). The table below shows what you need to add to the Default Value option for each of Attributer’s required form fields:
| Attributer Field | Default Value |
| Channel | [channel] |
| Channel Drilldown 1 | [channeldrilldown1] |
| Channel Drilldown 2 | [channeldrilldown2] |
| Channel Drilldown 3 | [channeldrilldown3] |
| Landing Page | [landingpage] |
| Landing Page Group | [landingpagegroup] |
Step 3: Add the new fields to your form
Now that you have added Attributer’s required fields to the contact object in ActiveCampaign, you can now add them to your website forms.
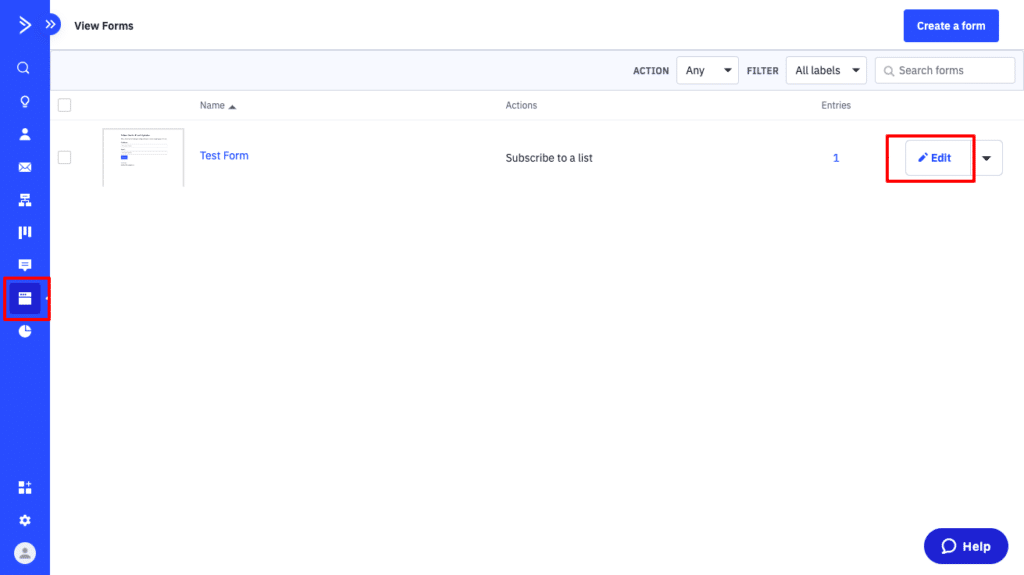
To do this, select the ‘Website’ option from the left-hand menu to open a list of your forms, and then select the ‘Edit’ button next to the form you want Attributer to work with.
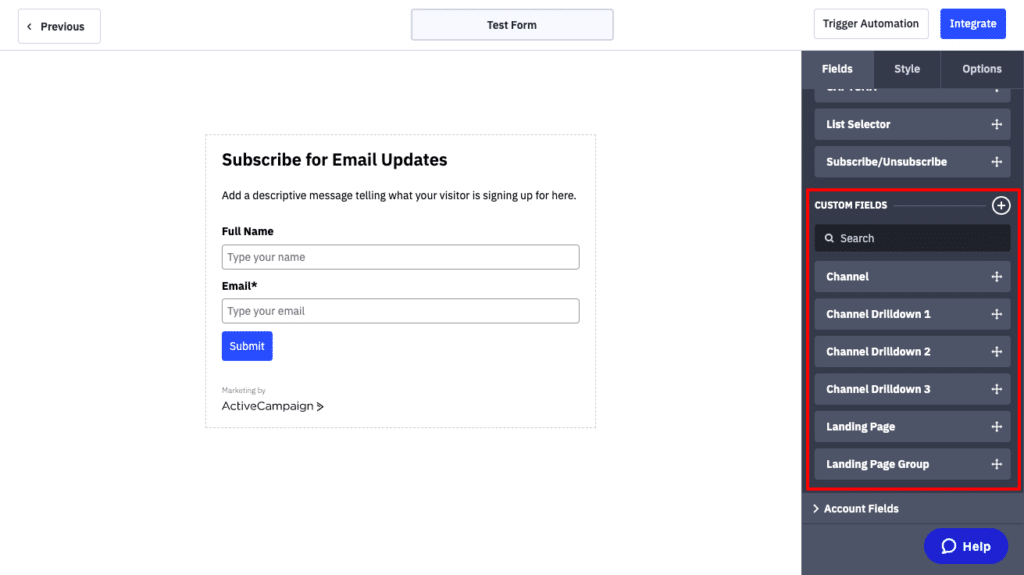
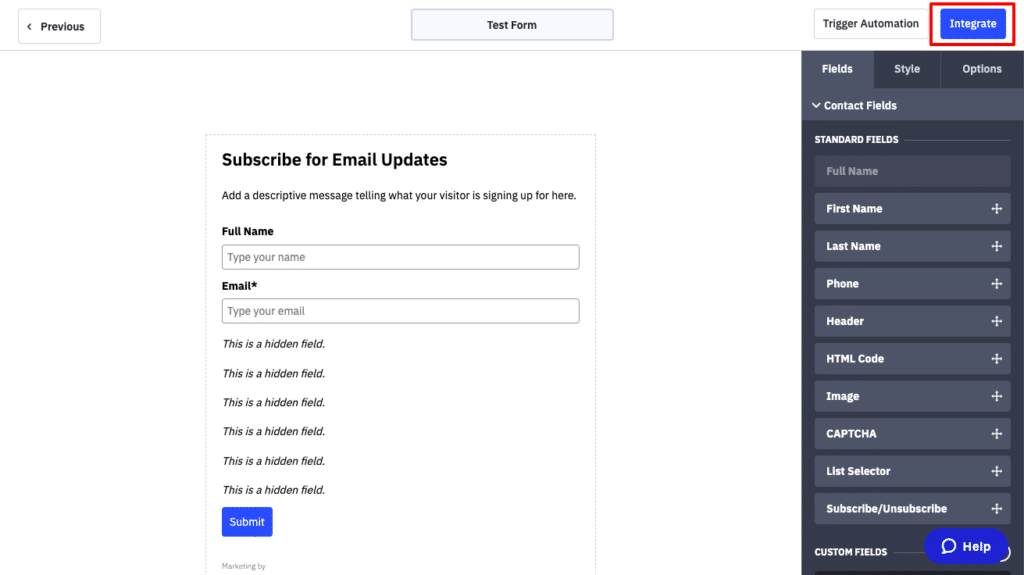
Once on the form editor, you should be able to find the new custom fields you added in Step 1 in the Form Field bar on the right-hand side of the screen.
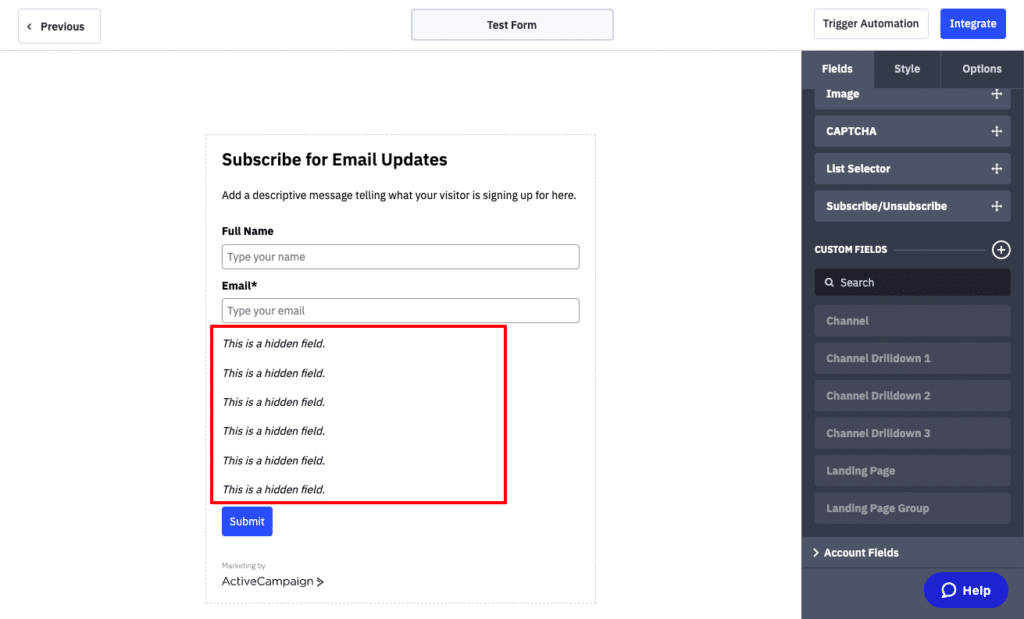
To add Attributer’s custom fields to your form, simply drag and drop them from the right-hand sidebar into your form. You can put them wherever you want, but we generally recommend placing them below the last form field you want visible on the form but above the submit button
Once you’ve finished adding the custom fields to your form, click the ‘Integrate’ button in the top right-hand corner of the screen.
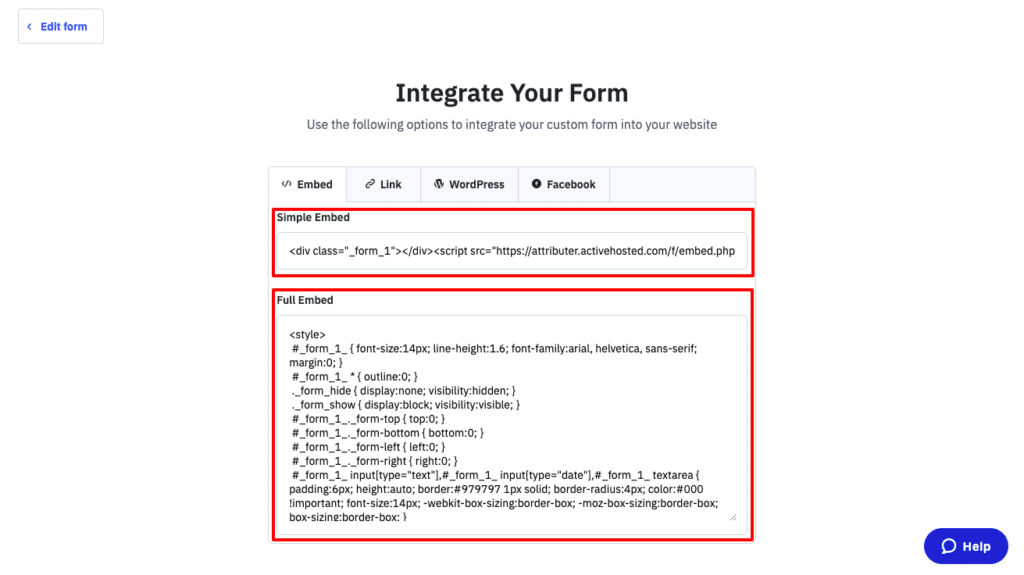
Step 3: Embed the form in your website
Once you’ve clicked the ‘Integrate’ button you’ll be presented with a number of options for embedding the form on your website.
You can use either the Simple Embed or the Full Embed option. Attributer works with both so it’s up to you!
Can't find the answer you need? Contact us!
Our team are available to answer any questions you have
