Help Center
Add hidden fields to Dynamics Marketing forms
Attributer is a little bit of code you add to your website. It tracks where your visitors are coming from (Paid Search, Paid Social, Organic Search, etc) and writes the data into hidden fields you add to your forms which is then captured by Dynamics forms and can be sent to your CRM and other tools.
In order for it to work, you need to add a series of hidden fields to your Dynamics forms. Here’s how to do it:
Step 1: Add 6x ‘Marketing form fields’ to Dynamics Marketing
In Dynamics Marketing, you first need to create a set of custom fields that can be used in forms before you can add them to your forms.
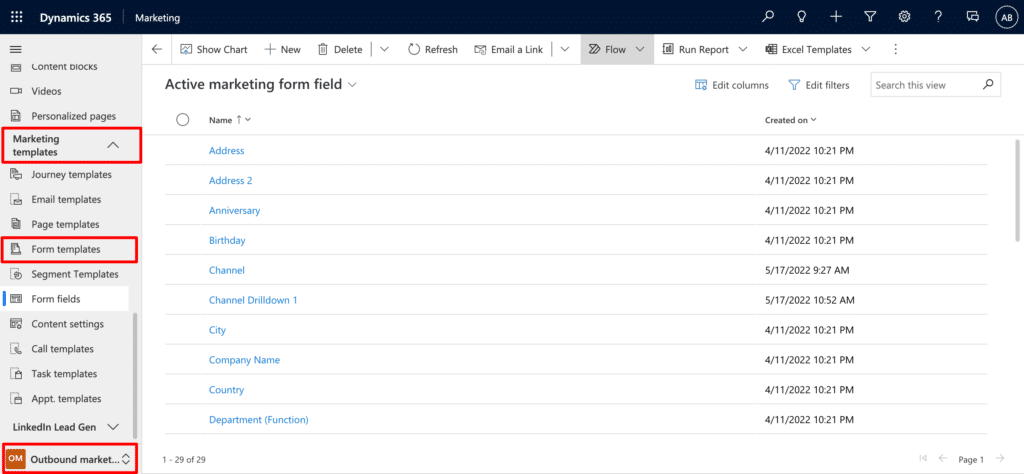
To do this, navigate to the ‘Outbound Marketing’ tab and then select the ‘Form Templates’ menu option from the ‘Marketing Templates’ section.
Once in the marketing form fields section, select the ‘New’ button in the top left and a page will appear that allows you to customise the new marketing form field. It looks a bit like this:
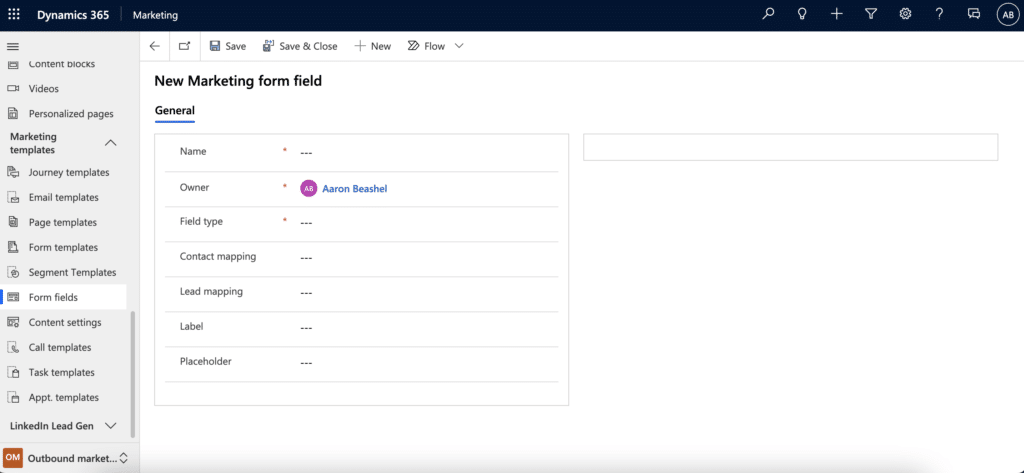
You’ll need to create 6x new fields by filling out going through this process (clicking the ‘New’ button and configuring the fields) multiple times.
You’ll need to configure the 6x fields with the following information:
Marketing Form Field #1
- Name = Channel
- Field Type = Single line of text
- Format = Text
- Contact Mapping = Map this to the field in Dynamics 365 where you want the data stored
- Lead Mapping = Map this to the field in Dynamics 365 where you want the data stored
- Label = Channel
Marketing Form Field #2
- Name = Channel Drilldown 1
- Field Type = Single line of text
- Format = Text
- Contact Mapping = Map this to the field in Dynamics 365 where you want the data stored
- Lead Mapping = Map this to the field in Dynamics 365 where you want the data stored
- Label = Channel Drilldown 1
Marketing Form Field #3
- Name = Channel Drilldown 2
- Field Type = Single line of text
- Format = Text
- Contact Mapping = Map this to the field in Dynamics 365 where you want the data stored
- Lead Mapping = Map this to the field in Dynamics 365 where you want the data stored
- Label = Channel. Drilldown 2
Marketing Form Field #4
- Name = Channel Drilldown 3
- Field Type = Single line of text
- Format = Text
- Contact Mapping = Map this to the field in Dynamics 365 where you want the data stored
- Lead Mapping = Map this to the field in Dynamics 365 where you want the data stored
- Label = Channel Drilldown 3
Marketing Form Field #5
- Name = Landing Page
- Field Type = Single line of text
- Format = Text
- Contact Mapping = Map this to the field in Dynamics 365 where you want the data stored
- Lead Mapping = Map this to the field in Dynamics 365 where you want the data stored
- Label = Landing Page
Marketing Form Field #6
- Name = Landing Page Group
- Field Type = Single line of text
- Format = Text
- Contact Mapping = Map this to the field in Dynamics 365 where you want the data stored
- Lead Mapping = Map this to the field in Dynamics 365 where you want the data stored
- Label = Landing Page Group
Step 2: Add the 6x fields to your form
Now that you’ve setup these marketing form fields, it’s time to add them to the form you want Attributer to work with.
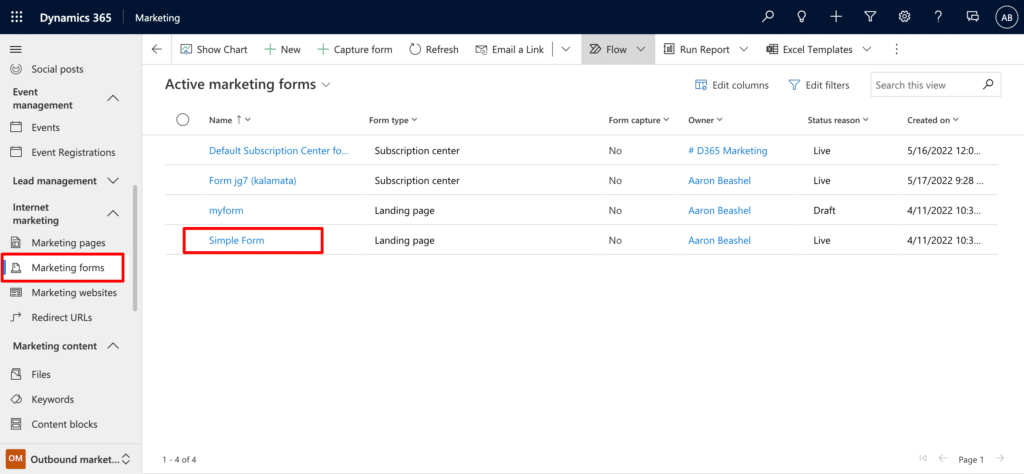
To do that, navigate to the ‘Marketing Forms’ section and select the form you wish to edit.
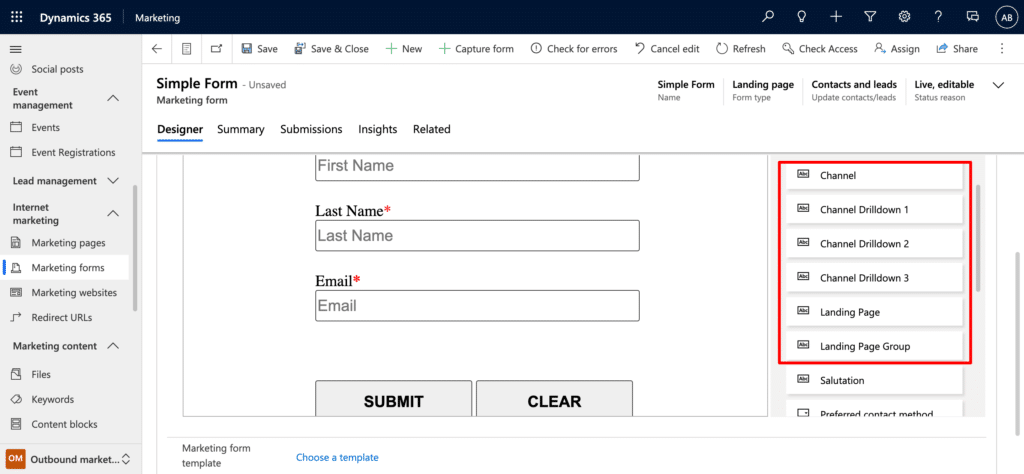
When the form editor opens, drag and drop each of the 6x fields you added earlier from the right sidebar and into your form. You can add the form fields anywhere, but we suggest adding these new form fields to the bottom of your form below the last field you wish your visitors to complete.
Step 3: Configure the fields
Next, you need to configure each of the 6x fields you just added to your form. To configure a field, simply click on it and the ‘Field Properties’ editor will open in the right sidepanel.
You need to configure each of the fields as follows:
Field #1
- Label = Channel
- Default Value = [channel]
- Hide Field = On
Field #2
- Label = Channel Drilldown 1
- Default Value = [channeldrilldown1]
- Hide Field = On
Field #3
- Label = Channel Drilldown 2
- Default Value = [channeldrilldown2]
- Hide Field = On
Field #4
- Label = Channel Drilldown 3
- Default Value = [channeldrilldown3]
- Hide Field = On
Field #5
- Label = Landing Page
- Default Value = [landingpage]
- Hide Field = On
Field #6
- Label = Landing Page Group
- Default Value = [landingpagegroup]
- Hide Field = On
Finally, click ‘Save’ to save your changes to the hidden fields.
Step 4: Embed the form in your website
Now that you’ve added the 6x fields and configured them correctly, it’s time to embed the form in your website.
If this is an existing form and you already have it in your website, then you don’t need to do anything else as the form will automatically update with the new fields.
If you don’t have the form embedded on your site already, Navigate to the ‘Form Hosting’ section and select your website from the list.
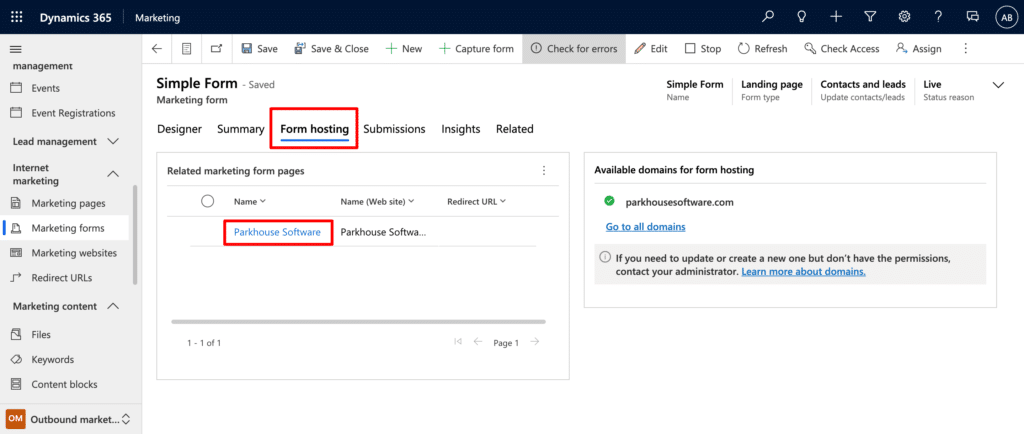
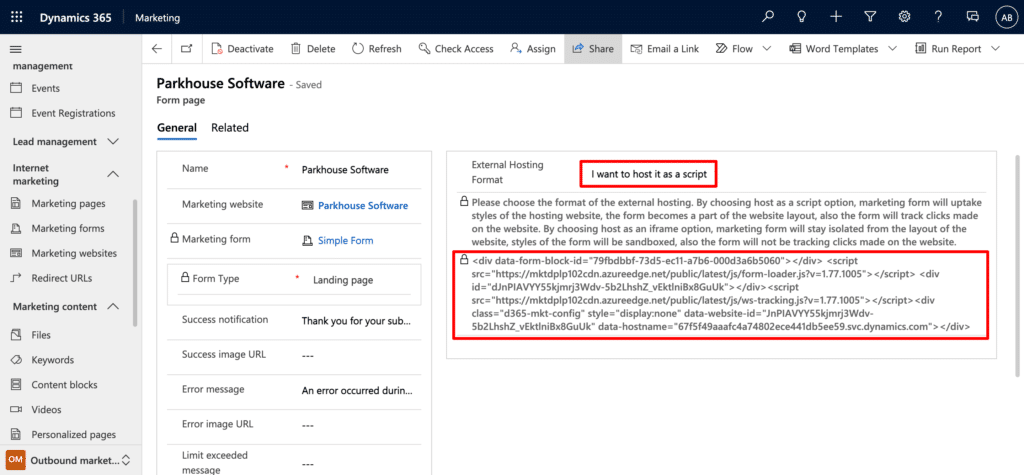
On the page that loads, select the ‘I want to host it as a script’ then copy the script and paste it onto your website wherever you want the form to appear.
Can't find the answer you need? Contact us!
Our team are available to answer any questions you have
