Help Center
Add hidden fields to FormAssembly
Attributer is a little bit of code you add to your website. It tracks where your visitors are coming from (I.e. Paid Search, Paid Social, Organic Search, etc) and writes the data into hidden fields you add to your forms. This data is then captured by FormAssembly and can be sent to your CRM and other tools.
In order for it to work, you need to add a series of hidden fields to your FormAssembly forms. Here’s how to do it:
Step 1: Open the form you want Attributer to work with
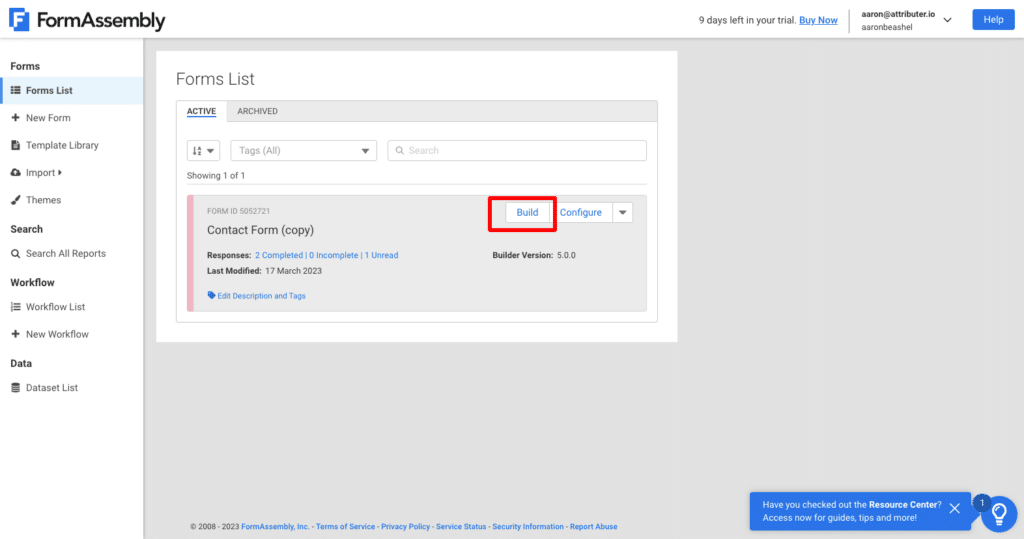
From your FormAssembly Dashboard or Form List, select the ‘Build’ button on the form you want Attributer to work with.
Step 2: Add the first hidden fields to the form
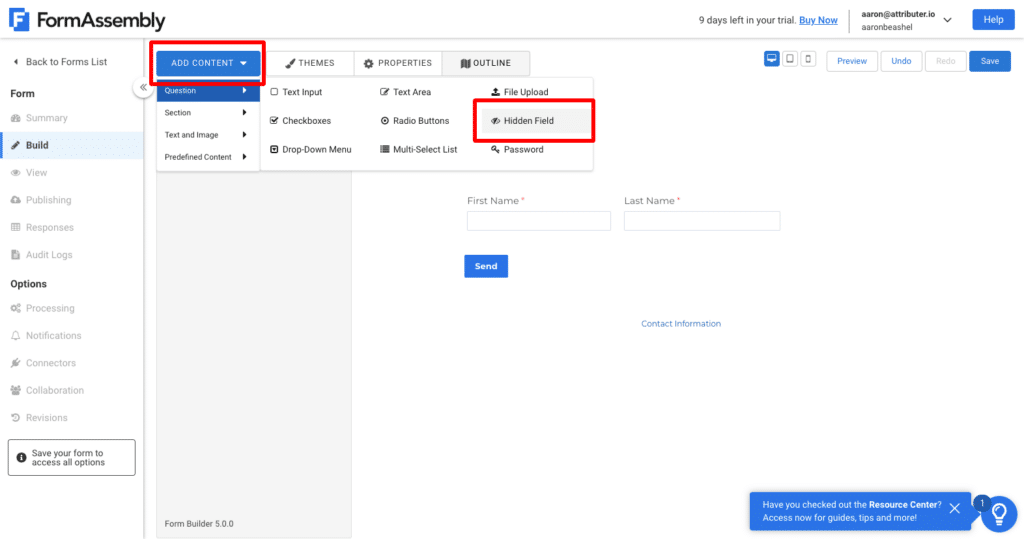
To add the first hidden field to the form, click the ‘Add Content’ button in the top left corner of the builder and then select the ‘Questions’ option from the dropdown before finally selecting the ‘Hidden Field’ option.
This will add a new hidden field to the bottom of your form. You will then need to configure both the Field Name and the Default Value.
To give each field a name, simply click on the ‘Edit This Text’ text above the field and change it to ‘Channel’ so that it looks a bit like this:

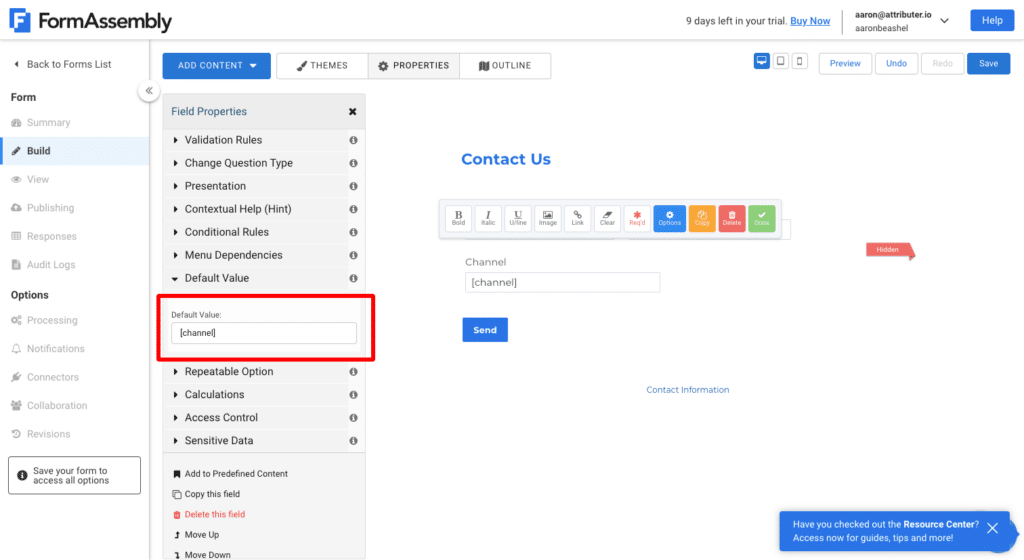
To add a Default Value to the field, you first need to click on the Options button that appears above the selected field.

This will then open the Field Properties panel which contains a section to add a Default Value. Add the default value [channel] (including the square brackets) so that it looks a bit like this:
Step 3: Add the rest of the fields
Now you need to repeat the above process to add an additional 5 fields to your form. The configuration for each of these additional fields is as follows:
Hidden Field #2
- Field Label = Channel Drilldown 1
- Default Value = [channeldrilldown1]
Hidden Field #3
- Field Label = Channel Drilldown 2
- Default Value = [channeldrilldown2]
Hidden Field #4
- Field Label = Channel Drilldown 3
- Default Value = [channeldrilldown3]
Hidden Field #5
- Field Label = Landing Page
- Default Value = [landingpage]
Hidden Field #6
- Field Label = Landing Page Group
- Default Value = [landingpagegroup]
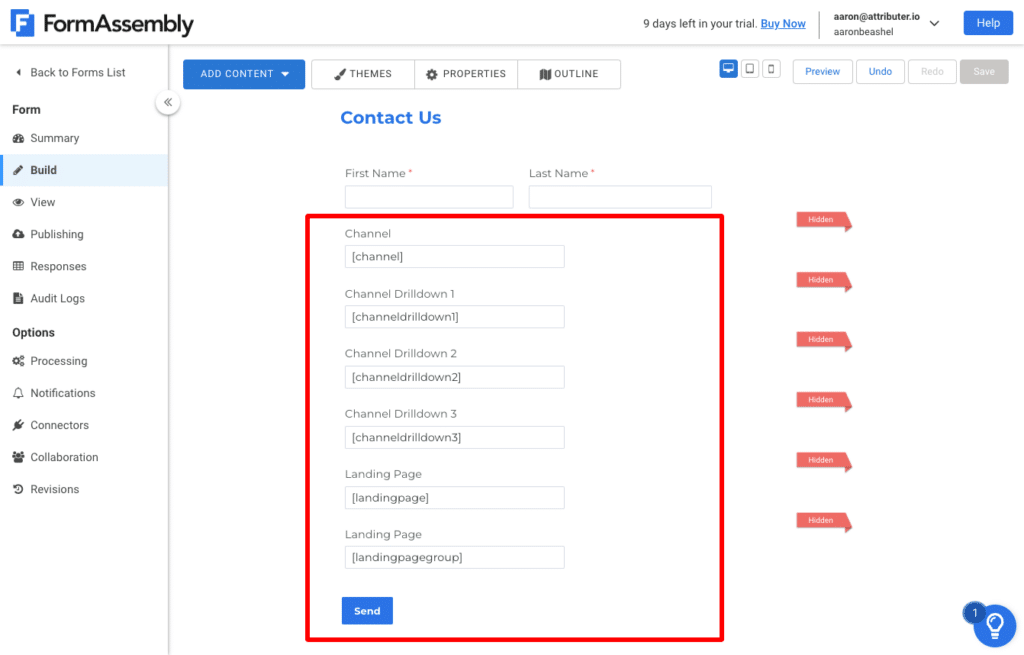
Note: It can be easier to ‘Copy’ the first field and just change the configuration settings as opposed to creating new fields each time.
You ultimately want your form to look a bit like this:
Step 4: Embed the form on your website
If this is a new form, then you will need to embed it on your website. Attributer works with all the different embed options FormAssembly offers, including publishing it on your website using the full HTML or the HTML snippet. It also works if you are using the WordPress plugin and inserting shortcodes.
If this is an existing form, then what you need to do next depends on what method of embedding the form you are using:
HTML Snippet
You don’t need to do anything else. The updated form will be loaded by the snippet automatically.
WordPress Plugin + Shortcodes
You don’t need to do anything else. The updated form will be loaded by the WordPress plugin automatically.
Full HTML method
If you are using the Full HTML Embed method, you will need to re-embed your form on your site as this does not automatically update when changes are made to the form.
To do so, select ‘Publishing’ from the left-side menu and then select the ‘You may want it as a full HTML page’ link:
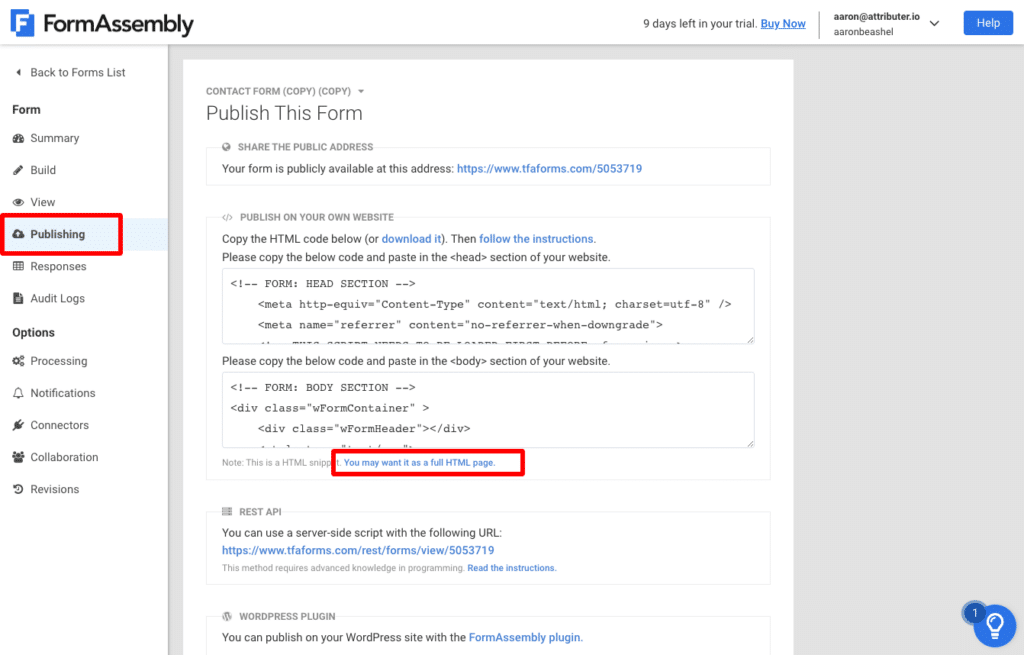
Finally, copy the code it gives you and place this on your site where you want the form to appear.
Can't find the answer you need? Contact us!
Our team are available to answer any questions you have
