Help Center
Add hidden fields to OptinMonster Popups
OptinMonster is a popular tool for displaying popups and other types of lead capture boxes on your website.
They have recently launched a Beta feature where you can add hidden fields to forms built in OptinMonster, and Attributer can use these hidden fields to pass through attribution information if you follow the steps below.
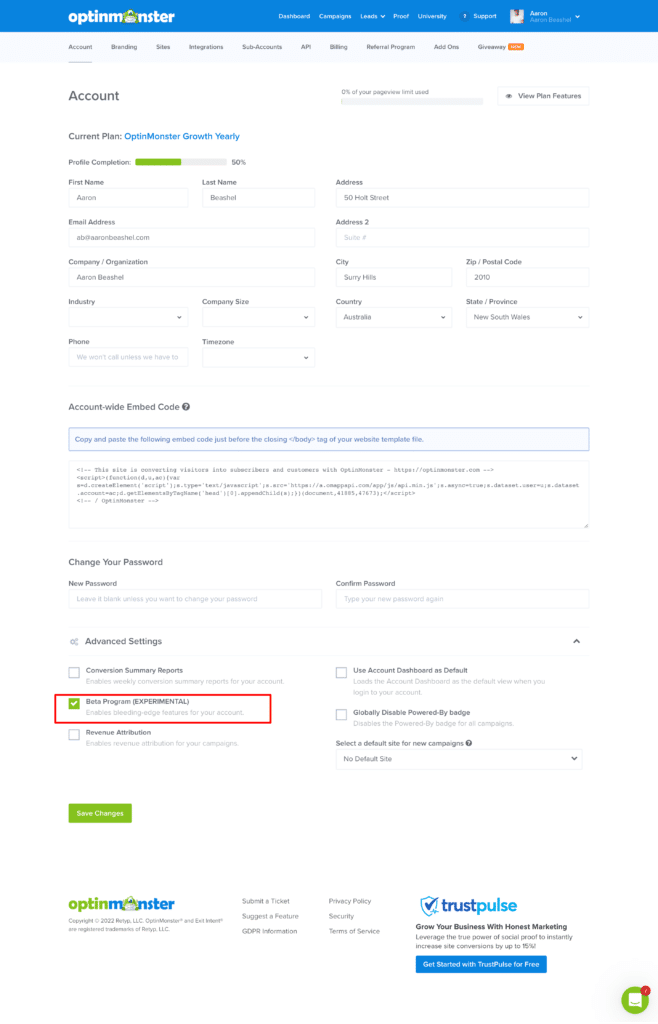
Step 1: Enable Beta Features
The advanced form builder (where you can add hidden fields to forms) is a Beta feature, so you’ll need to enable Beta features in your account first.
To do that, navigate to the Settings section of your OptinMonster account and in the Account Tab select ‘Advanced Settings’ and then tick the ‘Beta Program’ box.
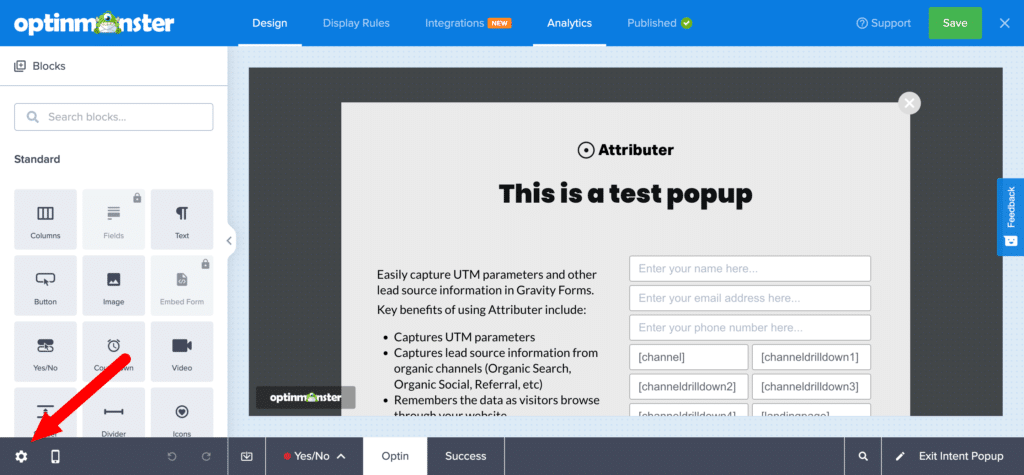
Step 2: Add some special code to your popup
In order for Attributer to see the hidden fields you’ll add to your form in later steps, you first need to add a little bit of code to the popup.
To do this, open the popup you want Attributer to work with and select the Settings icon in the bottom left corner.
Once the settings panel is open, select the ‘Advanced’ tab and then select the ‘Custom Javascript’ option.
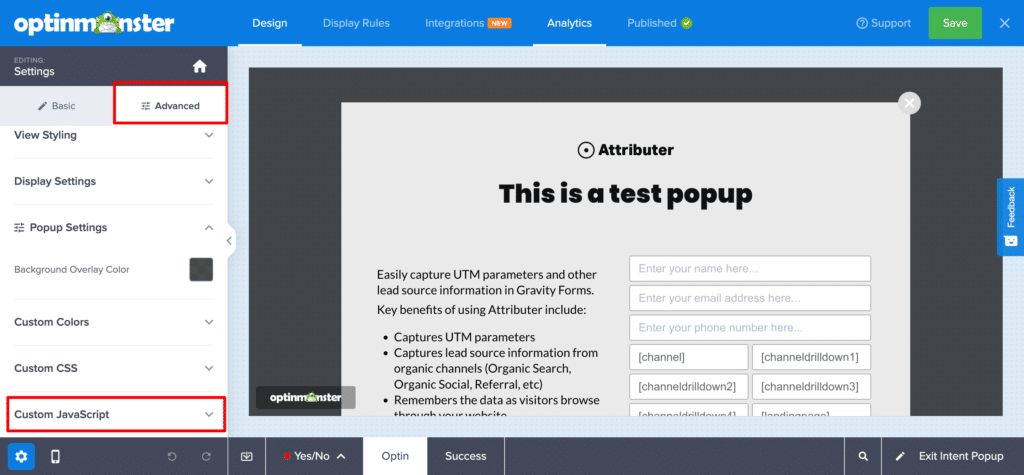
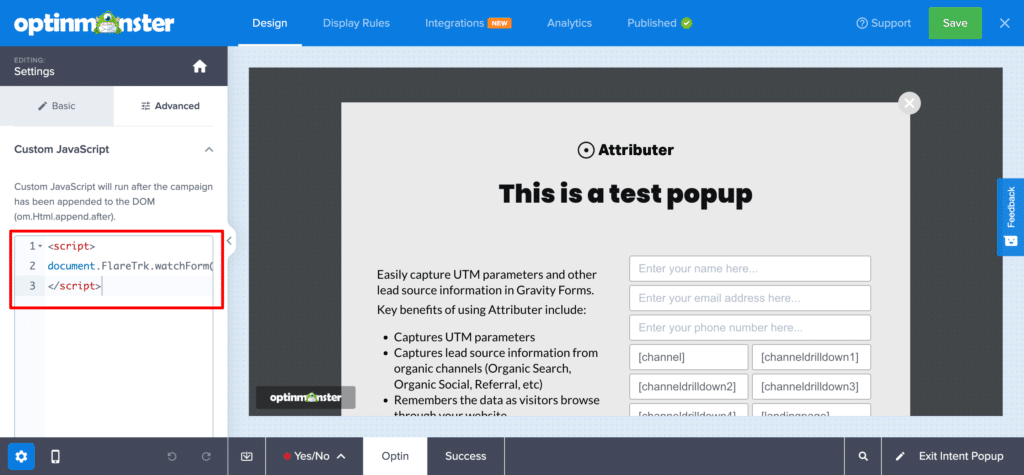
In the box that appears, enter the following bit of code:
<script>
document.FlareTrk.watchForm()
</script>
It should ultimately look like this:
Step 3: Add hidden fields to your form
Select the existing form on your popup or drag and drop a new one in. In the settings panel that appears on the left, click the ‘Add New Field’ button and then select a ‘Text’ field to add it to the form.
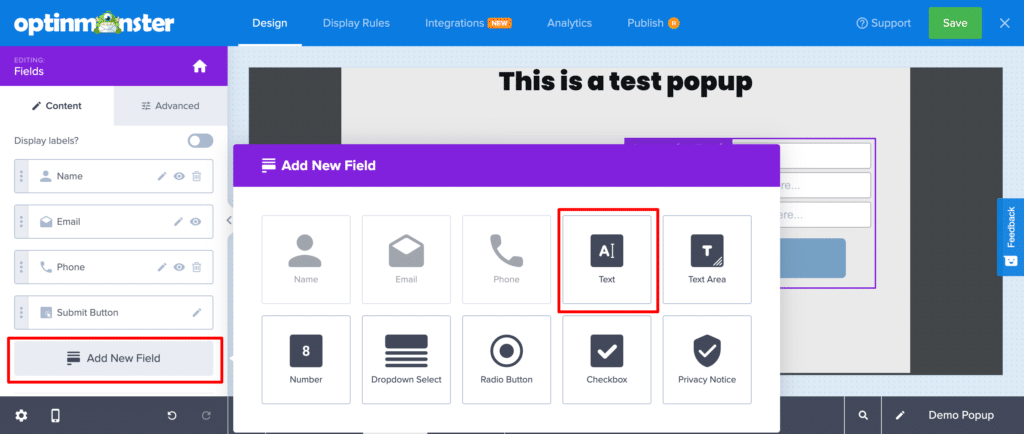
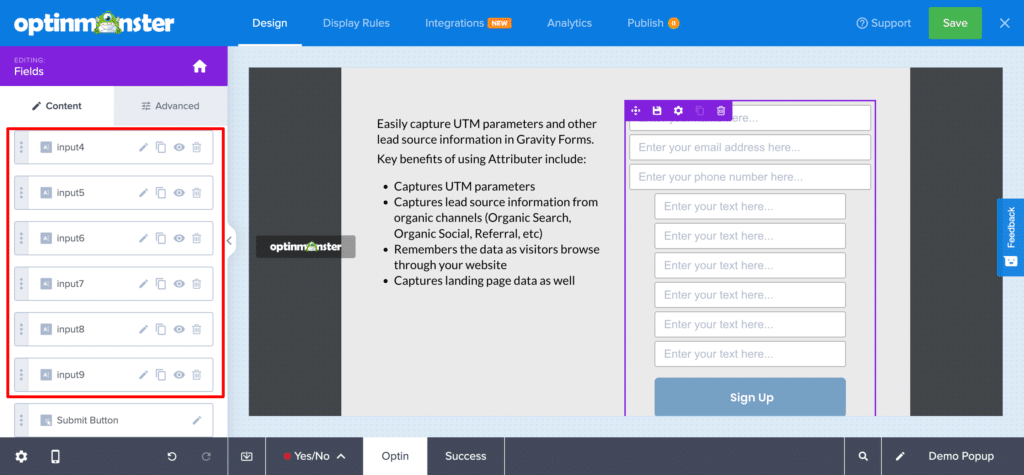
Repeat this process to add 6x text fields to your form. It should ultimately look something like this:
Step 4: Configure the fields
Select the first of the fields you just added and a series of options will appear.
First, you’ll want to select the eye icon in the top corner to make this a hidden field.

Next, you’ll want to configure the ‘Field Name’ and ‘Default Value’ fields like below:
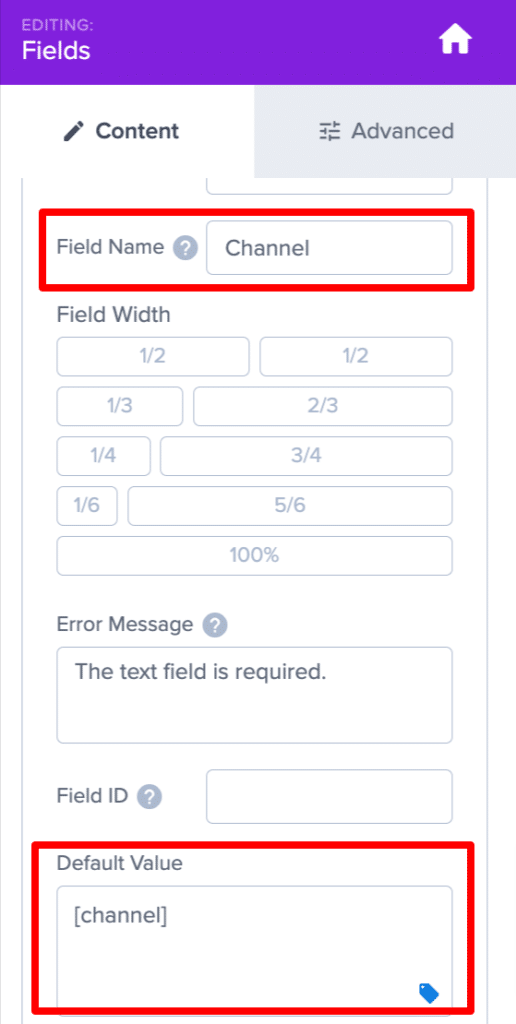
The values you will need to add to each of these fields are as follows:
Field #1
- Visibility = Select the eye icon to make it hidden
- Field Name = Channel
- Default Value = [channel]
Field #2
- Visibility = Select the eye icon to make it hidden
- Field Name = Channel Drilldown 1
- Default Value = [channeldrilldown1]
Field #3
- Visibility = Select the eye icon to make it hidden
- Field Name = Channel Drilldown 2
- Default Value = [channeldrilldown2]
Field #4
- Visibility = Select the eye icon to make it hidden
- Field Name = Channel Drilldown 3
- Default Value = [channeldrilldown3]
Field #5
- Visibility = Select the eye icon to make it hidden
- Field Name = Landing Page
- Default Value = [landingpage]
Field #6
- Visibility = Select the eye icon to make it hidden
- Field Name = Landing Page Group
- Default Value = [landingpagegroup]
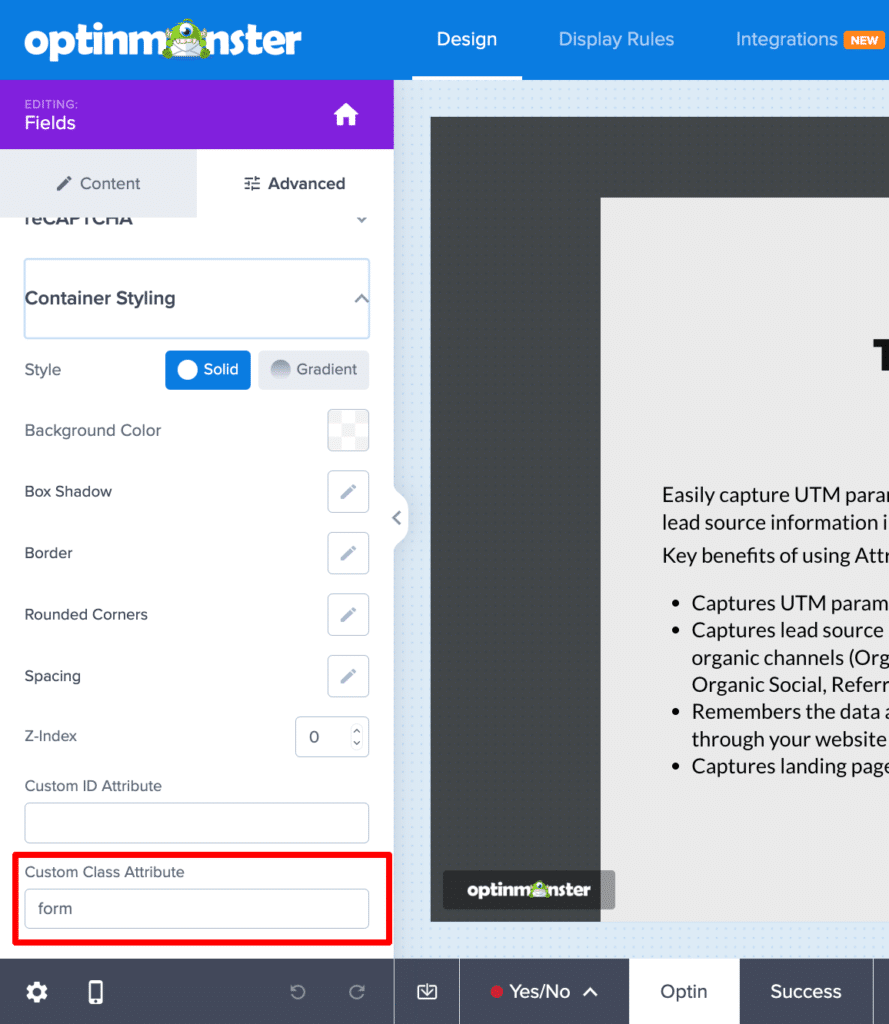
Step 5: Add a class to the form
The last thing you need to do to get Attributer working is add a class to the form (this helps Attributer identify the form within the popup).
To do this, select the form within the popup and in the options that appear in the left panel select the ‘Advanced’ tab and navigate down to the ‘Container Styling’ section.
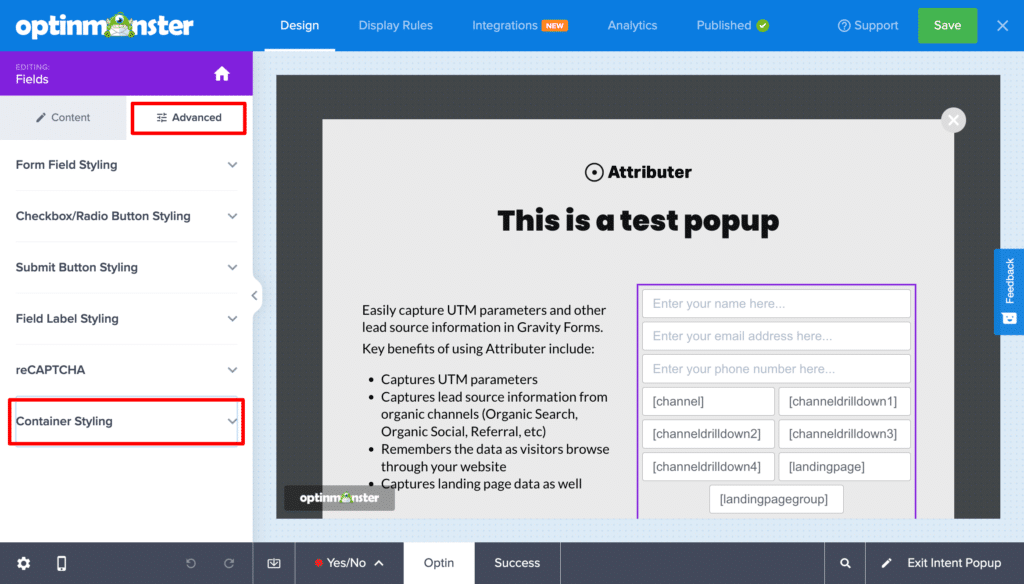
Once you are in the ‘Container Styling’ section, write the word ‘form’ in the box labeled ‘Custom Class Attribute’
Optional Step: Configure integrations
Depending on where you want to send the data, you can then configure the Integration in the ‘Integrations’ tab of the editor.
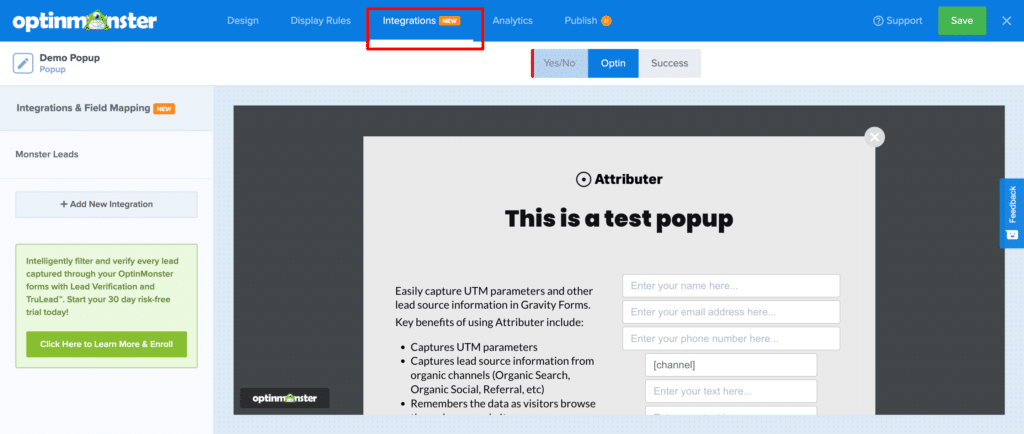
Within this section, you can setup ‘Monster Leads’ which is a feature of OptinMonster which will capture and store the lead information within OptinMonster itself (which can later be downloaded).
Alternatively, you can setup an integration with a variety of CRM and email marketing tools and send the both the lead’s information and the Attributer data there.
You can find more information on configuring the various integrations in this video from OptinMonster.
Can't find the answer you need? Contact us!
Our team are available to answer any questions you have
