Help Center
Adding Hidden Fields to Framer forms
Attributer is a little bit of code you add to your website. It tracks where your visitors are coming from (I.e. Paid Search, Paid Social, Organic Search, etc) and writes the data into hidden fields you add to your forms which is then captured in Framer and can be sent to your CRM and other tools.
In order for it to work, you need to add a series of hidden fields to your Framer forms. Here’s how to do it:
Step 1: Create a new component
From your Framer dashboard, open the website you want Attributer to work with.
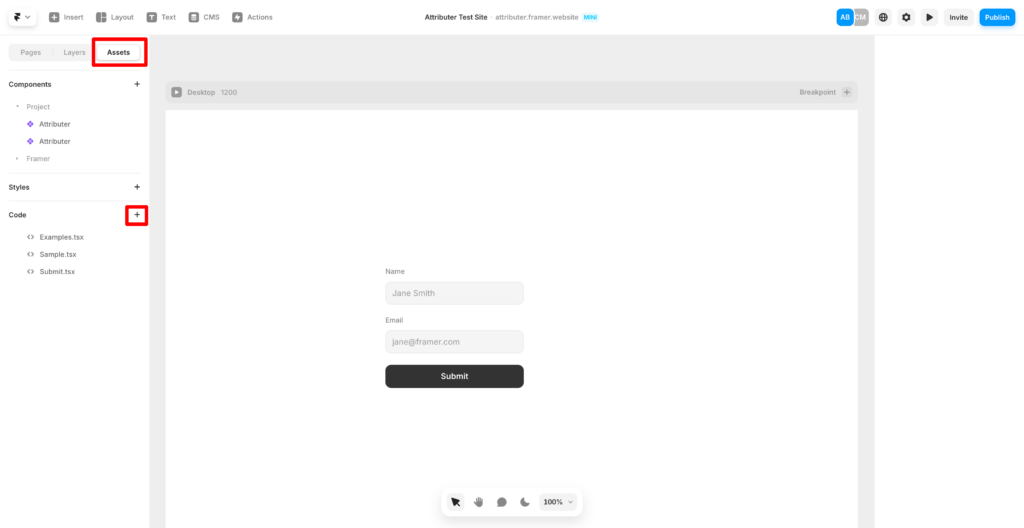
Once inside the editor, click the ‘Assets’ tab and then in the Code section, click the ‘+’ icon to create a new code file.
In the popup that appears, give this new code file a name (we’d suggest something like Attributer, but it can be anything you want) and select the ‘New Component’ option.
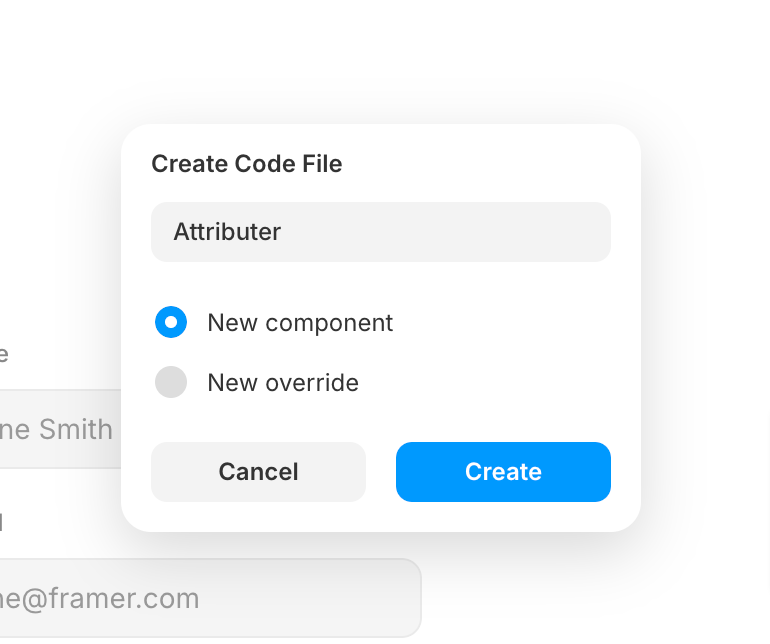
Next, click the Create button and a code box will appear. Delete all the same code in it.
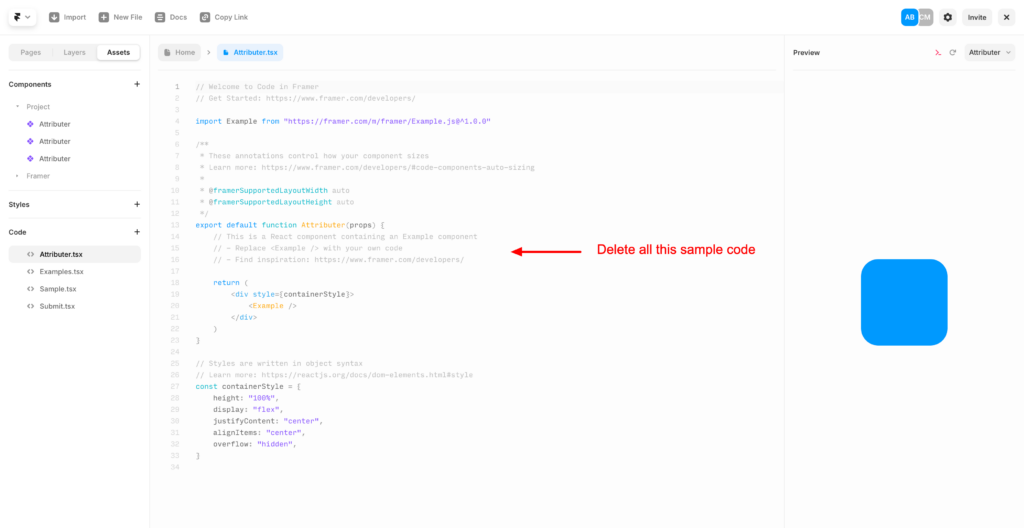
Finally, place the following code in the code area (where you just deleted the sample code):
/**
* @framerSupportedLayoutWidth auto
* @framerSupportedLayoutHeight auto
*/
export default function Attributer(props) {
const style = {
display: "none",
}
return (
<div style={style}>
<input name="[attributer-channel]" />
<input name="[attributer-channeldrilldown1]" />
<input name="[attributer-channeldrilldown2]" />
<input name="[attributer-channeldrilldown3]" />
<input name="[attributer-channeldrilldown4]" />
<input name="[attributer-landingpagegroup]" />
<input name="[attributer-landingpage]" />
</div>
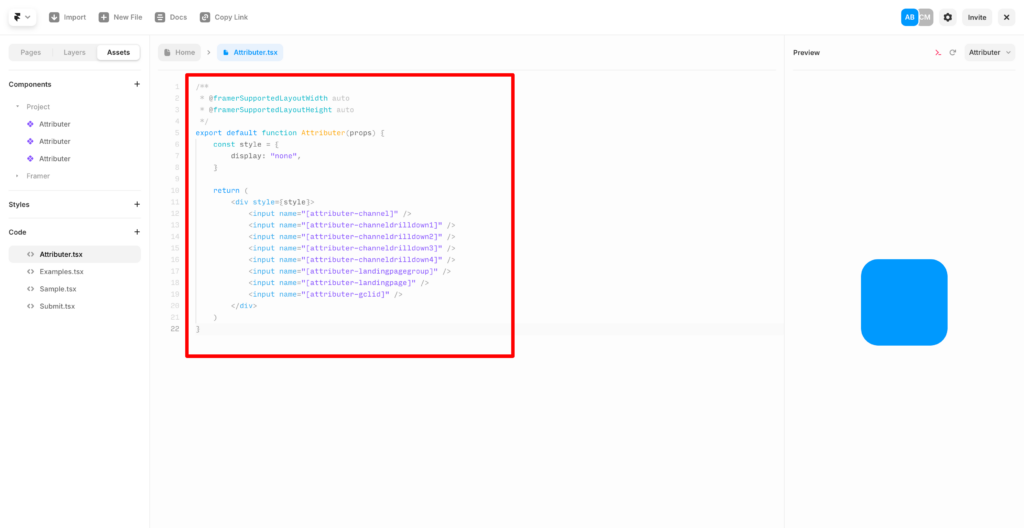
)
}It should ultimately look a bit like this:
Step 2: Add the component to the form
Now that you have a created a new component, the next step is to add it to your form.
To do this, navigate to the page that contains the form you want Attributer to work with. Once the page is open in the editor, select the ‘Assets’ tab and then drag and drop the new component (it will be labelled with whatever name you gave it in the first step) into the form.
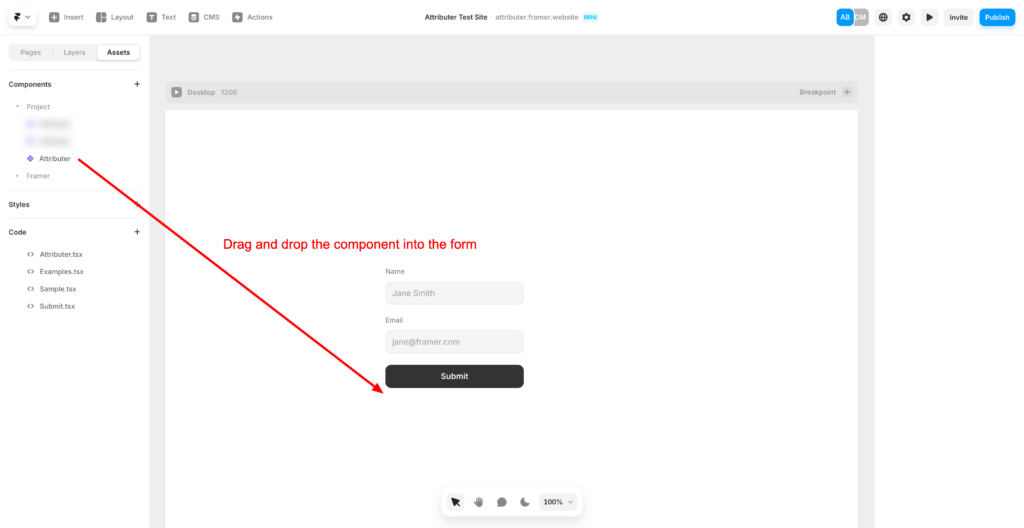
You can place it anywhere you want inside the form, but it’s best to place the component directly underneath the submit button. Just make sure it’s inside the form.
Step 3: Publish your site and test
Finally, publish your site and then navigate to the page your form is on. Complete the form and submit it.
If it’s working correctly, you should receive an email regarding the new form submission and it should include the Attributer data.
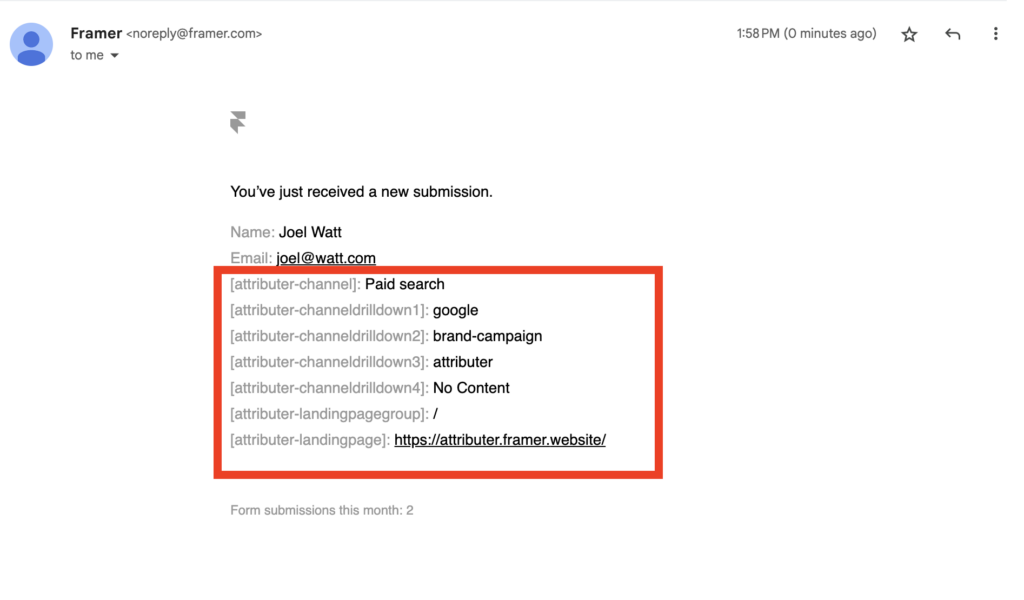
As you can see, the Channel & Landing Page data captured by Attributer is contained in the ‘[attributer-channel[’ and ‘[attributer-landingpage]’ fields.
You can now send that data over to a spreadsheet via Framer’s native Google Sheets integration, or you can send it to your CRM however you normally would (I.e. via Zapier, CSV downloads, etc).
Can't find the answer you need? Contact us!
Our team are available to answer any questions you have
