Help Center
How to send Attributer data to Recurly
This article explains how to capture the marketing attribution data that Attributer collects — things like which channel a customer came from, their UTM parameters, and their landing page — and pass that data to Recurly as custom fields on each account record.
Once this is set up, you’ll be able to use tools like use Recurly’s built-in Explore report builder to analyze your subscription data by attribution source.
Overview
Attributer does not send data to Recurly directly. Instead, it makes attribution data available in the browser and your development team passes that data to Recurly when creating or updating an account record.
The general flow would be something like this:
- A visitor lands on your site and Attributer’s JavaScript runs. It looks at data like UTM parameters, HTTP Referrer, etc. and categorizes the visitor into a series of standardised marketing channels (e.g. Paid Search, Organic Social, Organic Search, Direct).
- It stores the data in a cookie in the visitor’s browser.
- When the visitor signs up for your product/service, you can either retrieve the data from the cookie or have Attributer write the data into hidden fields you add to your form.
- You store the data in your database (often on the accounts table or users table, depending on your structure).
- When you create an account in Recurly (at trial start, or whenever you make the
createAccountAPI call), you include the attribution data as custom fields on that account record.
Step-By-Step Instructions
Step 1: Install Attributer on your site
If you haven’t already, add the Attributer JavaScript snippet to your marketing site. It should be present on every page so that attribution is captured regardless of which page a visitor first lands on.
It’s generally a good idea to include it in your application as well (i.e. on app.yourproduct.com) as people can land directly on your application (they don’t always come through your marketing website).
Once installed, Attributer will automatically inspect UTM parameters and the HTTP referrer for each visitor, apply its attribution logic, and store the results in a first-party cookie.
Step 2: Retrieve the attribution data
There are two ways to get the attribution data out of the cookie and into your system:
Option A: Pull it from the cookie with Javascript
If your signup flow doesn’t use a traditional HTML form (for example, if you’re using a “Sign up with Google” or “Sign up with Facebook” social login), you can read the attribution data directly from the cookie using JavaScript and pass it to your backend as part of the signup flow.
Attributer stores data in the document.FlareTrk.data object. Because the script loads asynchronously, you should wait for it to be ready before reading the data. Here’s some sample code to get you started (it reads the attribution fields from the cookie and logs them to the console). You can adapt it to send the data to wherever you need it to go:
(() => {
  function waitForData() {
    // Wait for Attributer data to be ready
    if (!document.FlareTrk?.data) {
      return window.requestAnimationFrame(waitForData);
    }

    // Channel and drilldown data
    const channel        = document.FlareTrk.data.drillData.channel;
    const drilldown1     = document.FlareTrk.data.drillData.drillDown1;
    const drilldown2     = document.FlareTrk.data.drillData.drillDown2;
    const drilldown3     = document.FlareTrk.data.drillData.drillDown3;
    const drilldown4     = document.FlareTrk.data.drillData.drillDown4;

    // Landing page data
    const landingPage      = document.FlareTrk.data.landing_url;
    const landingPageGroup = document.FlareTrk.data.landing_page_group;

    // Pass these values to your backend (e.g. include them in your signup API call)
    console.log("channel:", channel);
    console.log("drilldown1:", drilldown1);
    console.log("drilldown2:", drilldown2);
    console.log("drilldown3:", drilldown3);
    console.log("drilldown4:", drilldown4);
    console.log("landing_page:", landingPage);
    console.log("landing_page_group:", landingPageGroup);
  }
  waitForData();
})();
Option B: Use hidden fields on your signup form
If your signup flow uses an HTML form, the simplest approach is to add hidden input fields to the form. Attributer will automatically populate these fields with the attribution data when the form loads.
Add the following hidden fields to your signup form:
<input type="hidden" id="[attributer-channel]" name="[attributer-channel]" value="[channel]">
<input type="hidden" id="[attributer-channeldrilldown1]" name="[attributer-channeldrilldown1]" value="[channeldrilldown1]">
<input type="hidden" id="[attributer-channeldrilldown2]" name="[attributer-channeldrilldown2]" value="[channeldrilldown2]">
<input type="hidden" id="[attributer-channeldrilldown3]" name="[attributer-channeldrilldown3]" value="[channeldrilldown3]">
<input type="hidden" id="[attributer-channeldrilldown4]" name="[attributer-channeldrilldown4]" value="[channeldrilldown4]">
<input type="hidden" id="[attributer-landingpage]" name="[attributer-landingpage]" value="[landingpage]">
<input type="hidden" id="[attributer-landingpagegroup]" name="[attributer-landingpagegroup]" value="[landingpagegroup]">
When the form is submitted, these values will be included alongside the user’s name, email, and any other fields and can be processed by your backend in exactly the same way.
Note: If needed, you can change the name or id attributes to match your own backend or CRM. Attributer looks for the value attribute first, then name, then id, so the value attribute must remain exactly as shown above.
Step 3: Store the attribution data in your database
Regardless of which option above you use, once you have the attribution data on your backend you should persist it, typically by storing it on your accounts table or a linked marketing_attribution table. This ensures the data is available later, even if there’s a delay between signup and when you create the account in Recurly.
Step 4: Create custom fields in Recurly
Before you can pass attribution data to Recurly via the API, you need to define the custom fields in Recurly’s admin console. Here’s how:
- Log in to your Recurly admin console.
- Navigate to Configuration → Custom Fields.
- Click Create Custom Field.
- For each of the attribution fields below, create a new custom field with the following settings:
- Recurly Object: Account
- Admin Console Access: Read-only in the admin console (recommended, so you can view the data in the UI but it can only be set via the API)
Create the following custom fields:
| API Field Name | Admin Console Field Name |
| channel | Channel |
| channeldrilldown1 | Channel Drilldown 1 |
| channeldrilldown2 | Channel Drilldown 2 |
| channeldrilldown3 | Channel Drilldown 3 |
| channeldrilldown4 | Channel Drilldown 4 |
| landingpage | landingpage |
| landingpagegroup | landingpagegroup |
Note: The API Field Name can only contain numbers, letters, dashes, and underscores (no spaces). The names above follow this requirement. Also note that Recurly’s Starter plan does not support custom fields — you’ll need to be on the Pro plan (up to 5 custom fields) or the Elite plan (up to 10 custom fields).
Step 5: Pass the attribution data to Recurly as account custom fields
When your backend makes the API call to Recurly to create an account (whether that’s at the point of signup, trial start, or when a user enters their payment details), retrieve the stored attribution data and include it in the custom_fields array of the request.
Here’s an example using the Recurly Node.js client library:
const recurly = require('recurly');
const client = new recurly.Client('your-private-api-key');

const account = await client.createAccount({
  code: user.accountCode,
  email: user.email,
  firstName: user.firstName,
  lastName: user.lastName,
  customFields: [
    { name: 'channel', value: account.attributer_channel },
    { name: 'channeldrilldown1', value: account.attributer_channeldrilldown1 },
    { name: 'channeldrilldown2', value: account.attributer_channeldrilldown2 },
    { name: 'channeldrilldown3', value: account.attributer_channeldrilldown3 },
    { name: 'channeldrilldown4', value: account.attributer_channeldrilldown4 },
    { name: 'landingpage', value: account.attributer_landingpage },
    { name: 'landingpagegroup', value: account.attributer_landingpagegroup },
  ],
});
And here’s the equivalent using the Recurly Python client library:
import recurly

client = recurly.Client(api_key='your-private-api-key')

account = client.create_account(
    recurly.AccountCreate(
        code=user.account_code,
        email=user.email,
        first_name=user.first_name,
        last_name=user.last_name,
        custom_fields=[
            recurly.CustomField(name='channel', value=account.attributer_channel),
            recurly.CustomField(name='channeldrilldown1', value=account.attributer_channeldrilldown1),
            recurly.CustomField(name='channeldrilldown2', value=account.attributer_channeldrilldown2),
            recurly.CustomField(name='channeldrilldown3', value=account.attributer_channeldrilldown3),
            recurly.CustomField(name='channeldrilldown4', value=account.attributer_channeldrilldown4),
            recurly.CustomField(name='landingpage', value=account.attributer_landingpage),
            recurly.CustomField(name='landingpagegroup', value=account.attributer_landingpagegroup),
        ],
    )
)
Note: The same approach works regardless of when you create the Recurly account. We have some customers who create it immediately on signup, some who create it at the start of a free trial, and some who only create the account when a user enters a payment method at the end of a trial. As long as you are storing the data, you can send it to Recurly whenever makes sense for you.
Note: Recurly custom fields are text-only and limited to 100 characters per field. Attributer’s Channel and Drilldown values will comfortably fit within this limit, but Landing Page URLs can sometimes exceed it. If this is a concern, consider truncating the landing page URL before sending it to Recurly, or only sending the path portion of the URL rather than the full URL.
What you’ll see in Recurly
Once this is set up, each account record in Recurly will have attribution data attached to it as custom fields, so you should be able to see it on the individual account record.
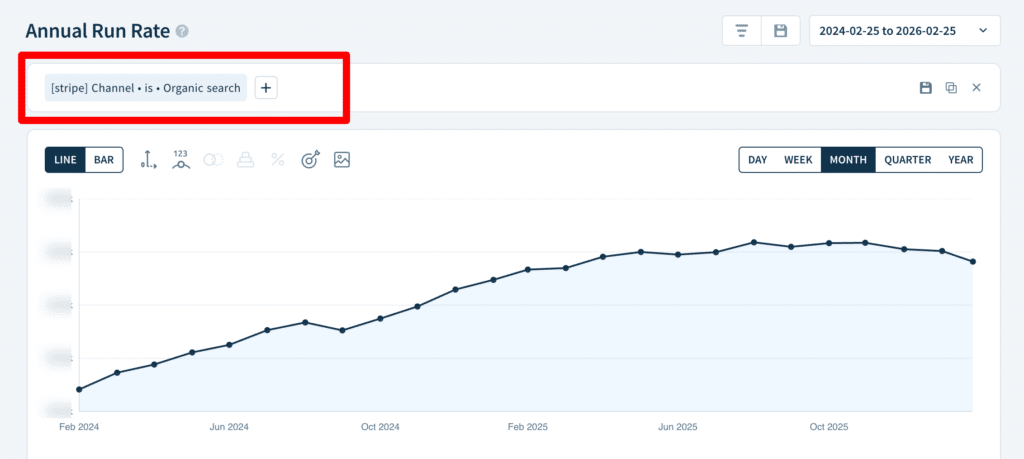
You can also use Recurly’s built-in Explore report builder to create custom reports that include your attribution custom fields. For example, you could build a report showing the number of new subscribers broken down by marketing channel, or calculate MRR by landing page group.
Analysing your data
With attribution data stored on your Recurly accounts, you have several options for analysing which marketing channels are driving revenue:
Option 1: Use Recurly’s Explore Report Builder
Recurly’s Explore feature lets you build custom reports using dimensions and measures from your account, subscription, and invoice data. Because your attribution data is stored as account-level custom fields, you can include it as a dimension in these reports to break down your subscription metrics by channel.
Option 2: Use ChartMogul
ChartMogul has a native integration with Recurly that automatically imports your customer, subscription, and transaction data. However, unlike with Stripe (where ChartMogul automatically imports customer metadata), ChartMogul does not automatically pull in Recurly’s custom fields. You’ll need to push the attribution data into ChartMogul separately as custom attributes using one of these methods:
- ChartMogul API: Use the Add Custom Attributes endpoint to programmatically add the attribution data to each customer by email or UUID.
- Google Sheets add-on: Export your attribution data to a Google Sheet and use ChartMogul’s Google Sheets integration to import it as custom attributes.
- Zapier: Set up a Zap that triggers when a new Recurly account is created and adds the corresponding custom attributes in ChartMogul.
Once the attribution data is in ChartMogul as custom attributes, it becomes available as filters and segments, allowing you to break down MRR, churn, LTV, and other metrics by marketing channel.
Frequently asked questions
What data gets stored in the Channel & Channel Drilldown fields?
Attributer stores different information in the Channel and Channel Drilldown fields depending on what channel the visitor actually arrives from.
For instance, if the visitor arrives from Paid Search then it uses the data in the UTM parameters (I.e. utm_source, utm_campaign, etc) to populate the drilldown fields. But if a user arrives from Organic Search, it stores the name of the search engine (I.e. Google), the URL of the search engine (I.e. www.google.co.uk) and the keyword (where available).
You can see the full documentation of what data Attributer stores here.
I have another question. Can I speak with someone?
Absolutely! We would love to answer any questions you might have and you can contact us here.
Can't find the answer you need? Contact us!
Our team are available to answer any questions you have
