Help Center
Add Hidden Fields to ConvertBox
Attributer is a little bit of code you add to your website. It tracks where your visitors are coming from (Paid Search, Paid Social, Organic Search, etc) and writes the data into hidden fields you add to your forms. The data is then captured with the form submission in ConvertBox and can be sent to your CRM and other tools.
In order for it to work, you need to add a series of hidden fields to your ConvertBoxes. Here’s how to do it:
Step 1: Open the ConvertBox you want Attributer to work with
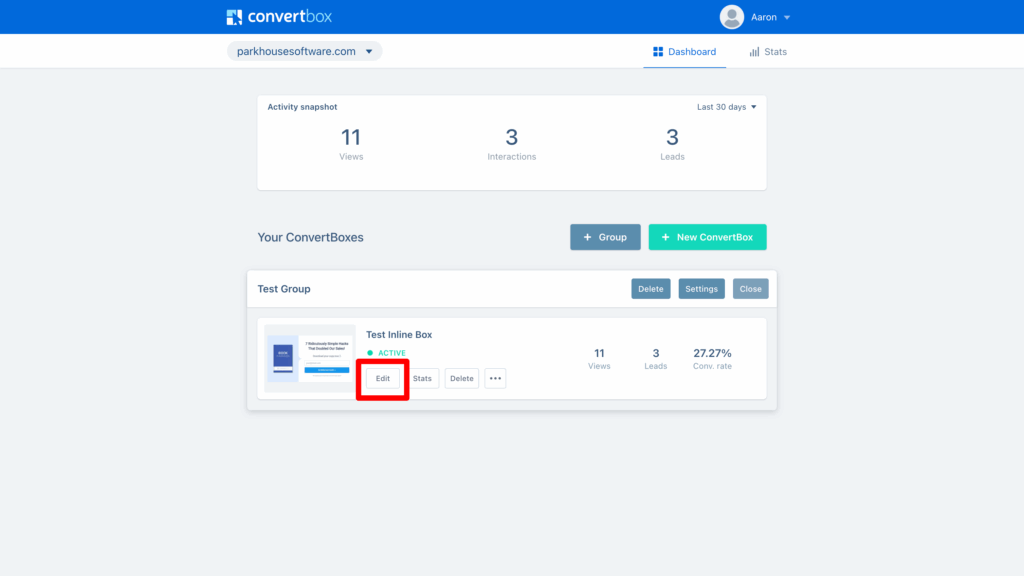
To get started, log in to your account and select the ‘Edit’ button on ConvertBox you want Attributer to work with.
Step 2: Add the first field to your form
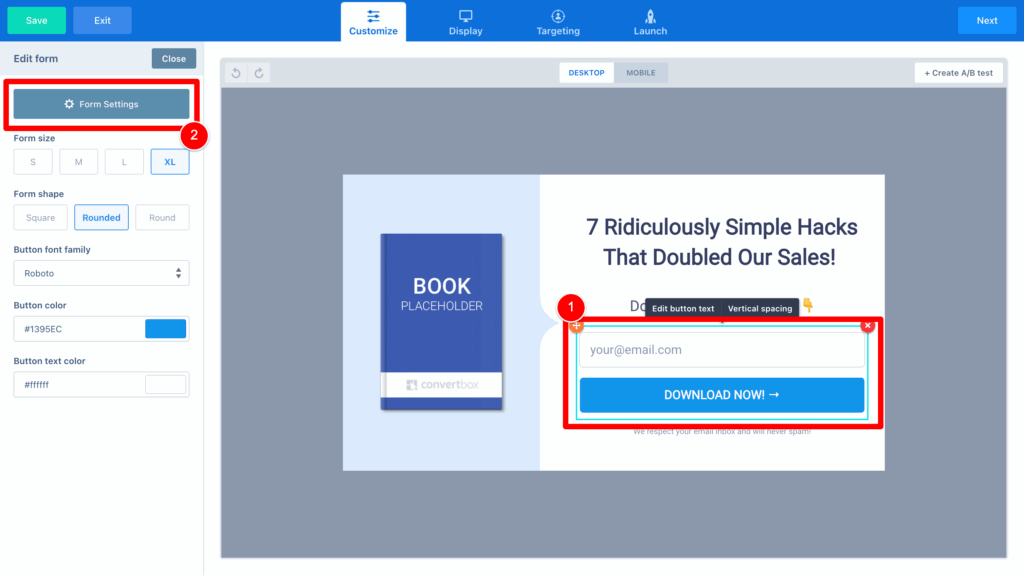
Now that your ConvertBox is open in the editor, it’s time to add the first hidden field to your form. To do this, first select the form on the ConvertBox, and then click the Form Settings button in the properties panel.
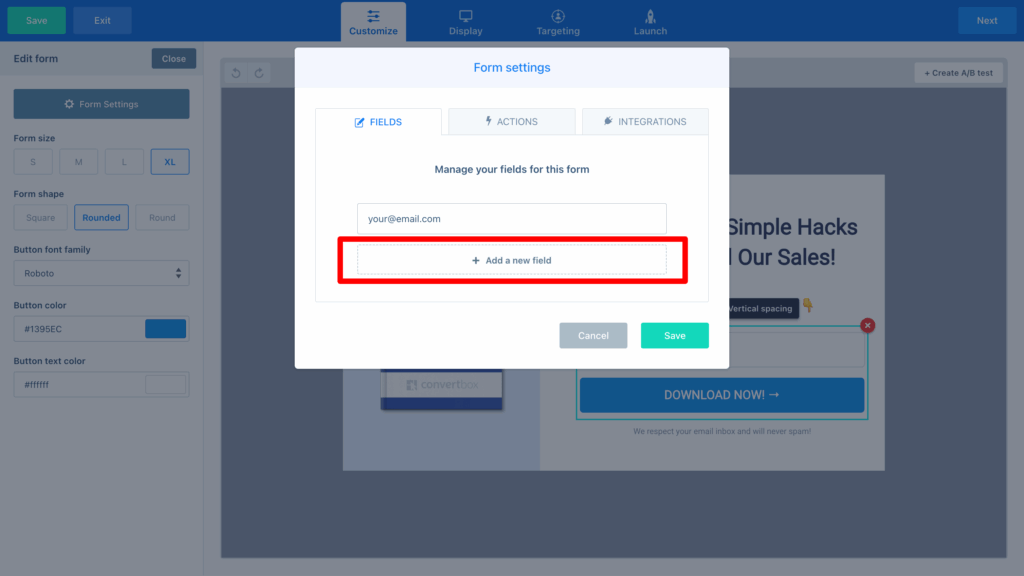
Then, in the popup that appears, select the Add New Field option.
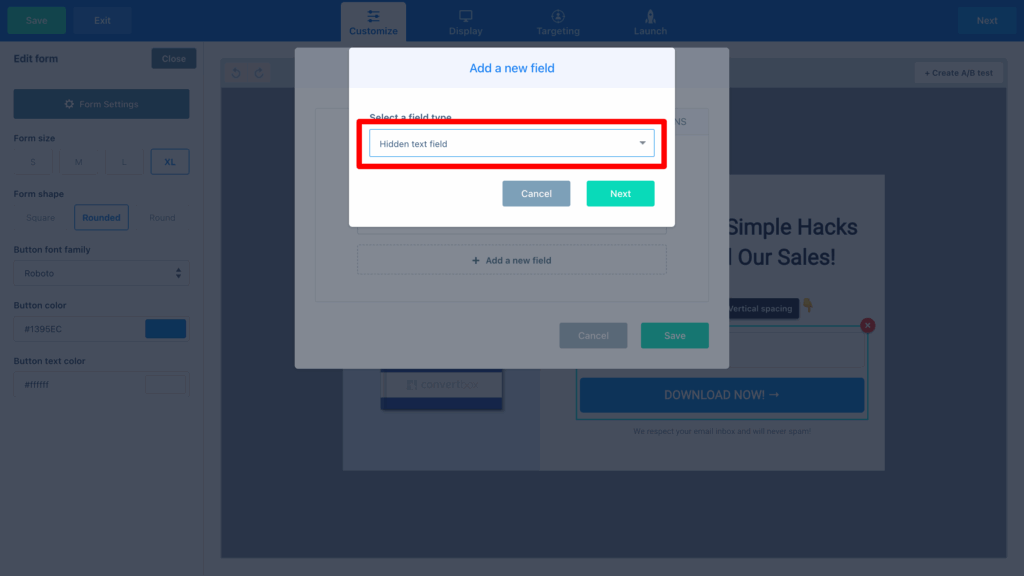
Then, in the next popup that appears, select the ‘Hidden Text Field’ option.
Finally, when the options for your new field appear, enter the following information:
- Field value = Channel
- Field name identifier = channel
- Prefill field from a cookie value = Tick this option
- Cookie Name = channel
It should ultimately look a bit like this:
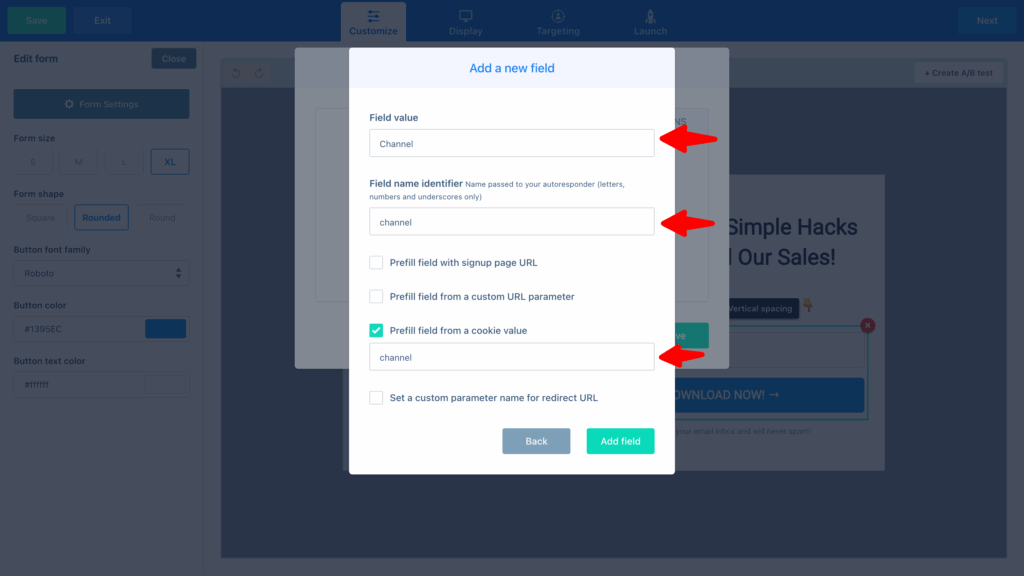
It’s important that you copy the values exactly as above, especially the cookie name. It should be all lowercase (i.e. channel)
Step 3: Repeat the above steps to add 5 more hidden fields
Now that you are familiar with adding hidden fields, givign them a specific name, and configuring them to pull field from a cookie value, you can continue to set up the additional hidden fields by repeating the steps you completed above.
The details you need for each of the additional hidden fields are:
Hidden Field #2
- Field value = Channel Drilldown 1
- Field name identifier = channel_drilldown_1
- Prefill field from a cookie value = Tick this option
- Cookie Name = channeldrilldown1
Hidden Field #3
- Field value = Channel Drilldown 2
- Field name identifier = channel_drilldown_2
- Prefill field from a cookie value = Tick this option
- Cookie Name = channeldrilldown2
Hidden Field #4
- Field value = Channel Drilldown 3
- Field name identifier = channel_drilldown_3
- Prefill field from a cookie value = Tick this option
- Cookie Name = channeldrilldown3
Hidden Field #5
- Field value = Landing Page
- Field name identifier = landing_page
- Prefill field from a cookie value = Tick this option
- Cookie Name = landingpage
Hidden Field #6
- Field value = Landing Page Group
- Field name identifier = landing_page_group
- Prefill field from a cookie value = Tick this option
- Cookie Name = landingpagegroup
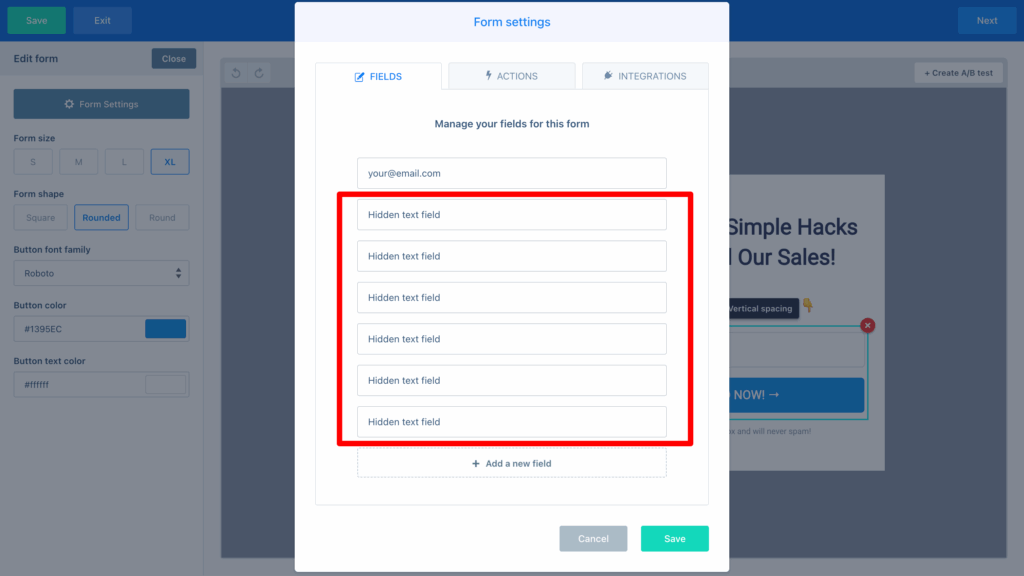
It’s important that you copy the values exactly as above, especially the cookie name. It should be all lowercase, no spaces (i.e. channeldrilldown1)
Ultimately, you want your form to look like this:
Step 4: Add the following code to any page where your ConvertBox appears
Now that you have added the hidden fields and told ConvertBox to populate them from a cookie value, the last step is to add an additional bit of code to whatever page the ConvertBox will appear on.
The code you need to as is:
<script>
function getCookie(name) {
  const match = document.cookie.match(new RegExp('(^| )' + name + '=([^;]+)'));
  return match ? decodeURIComponent(match[2]) : null;
}

function setCookie(name, value) {
  if (getCookie(name) || !value) return; // Skip if cookie already exists or value is empty
  const date = new Date();
  date.setTime(date.getTime() + (365 * 24 * 60 * 60 * 1000)); // 1-year expiry
  const expires = `expires=${date.toUTCString()}`;

  // Make cookie accessible across all subdomains (e.g., www.example.com, app.example.com)
  const parts = window.location.hostname.split('.');
  const domain =
    parts.length > 2
      ? `domain=.${parts.slice(-2).join('.')}`
      : `domain=.${window.location.hostname}`;

  document.cookie = `${name}=${encodeURIComponent(value)};${expires};path=/;${domain}`;
}

function fillData() {
  if (!document.FlareTrk?.data) {
    window.requestAnimationFrame(fillData);
    return;
  }

  const data = document.FlareTrk.data;

  // Channel and drilldown data
  setCookie("channel", data.drillData?.channel);
  setCookie("channeldrilldown1", data.drillData?.drillDown1);
  setCookie("channeldrilldown2", data.drillData?.drillDown2);
  setCookie("channeldrilldown3", data.drillData?.drillDown3);
  setCookie("channeldrilldown4", data.drillData?.drillDown4);

  // Landing page data
  setCookie("landingpage", data.landing_url);
  setCookie("landingpagegroup", data.landing_page_group);

  // IDs and device info
  setCookie("gclid", data.gclid);
  setCookie("msclkid", data.msclkid);
  setCookie("device", data.device);
}

fillData();
</script>
Here’s what this code does: The main Attributer code you added to your website (the one you got when you signed up for an account) stores all of the various data points in a single cookie in the visitor’s browser.
However, ConvertBox’s ‘Prefill field from a cookie value’ feature requires each data point to be stored in its own cookie, so the above code essentially extracts the data from the main Attributer cookie and sets a series of additional cookies, each with a single data point stored in it.
Then, when a visitor submits a ConvertBox form on your website, ConvertBox extracts the data from each of the individual cookies and saves it in the hidden fields with each form submission.
Given this, it is important that this individual bit of code is present on ANY page that the ConvertBox appears. So, for example, if you have just an inline ConvertBox that sits on one specific page then you can add it just to that page. Alternatively, if you have an Overlay ConvertBox (like a Stickybar or Center Modal) that appears on all pages of your site, then you would want to ensure that this code loads on all pages (and the easiest way to do that is to place it in the Head of your site, similar to how you installed the main Attributer code you got from your account).
Step 5: Test it works
You can test it works by completing the ConvertBox form on your website and then viewing the form submission. Where you view the form submission will depend on what integrations you have set up in your form, but as an example, here is the data included in an email notification:
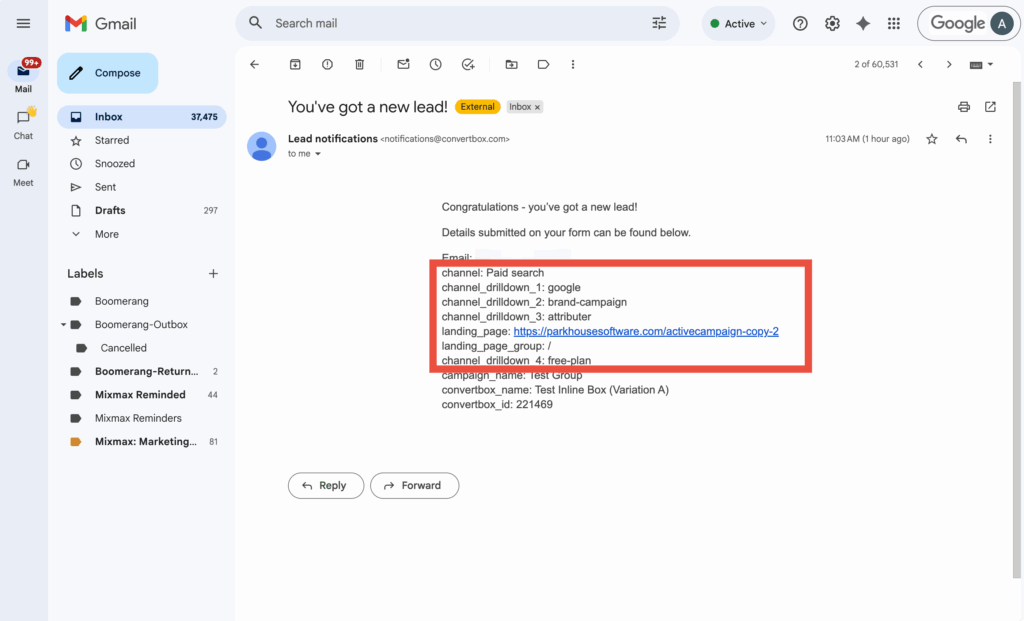
When testing, make sure to use a new incognito window each time. You can read more about how to test Attributer here.
A final note
We understand editing code can be a bit scary, so if you need help then we are happy to jump on a video call with you and walk you through it. Feel free to contact us here.
Can't find the answer you need? Contact us!
Our team are available to answer any questions you have
