Help Center
Add Attributer code via Google Tag Manager
Google Tag Manager is a tool from Google that makes it easy to manage 3rd party code (like the Attributer code) on your website.
Here’s how to add the Attributer code to your website via Google Tag Manager.
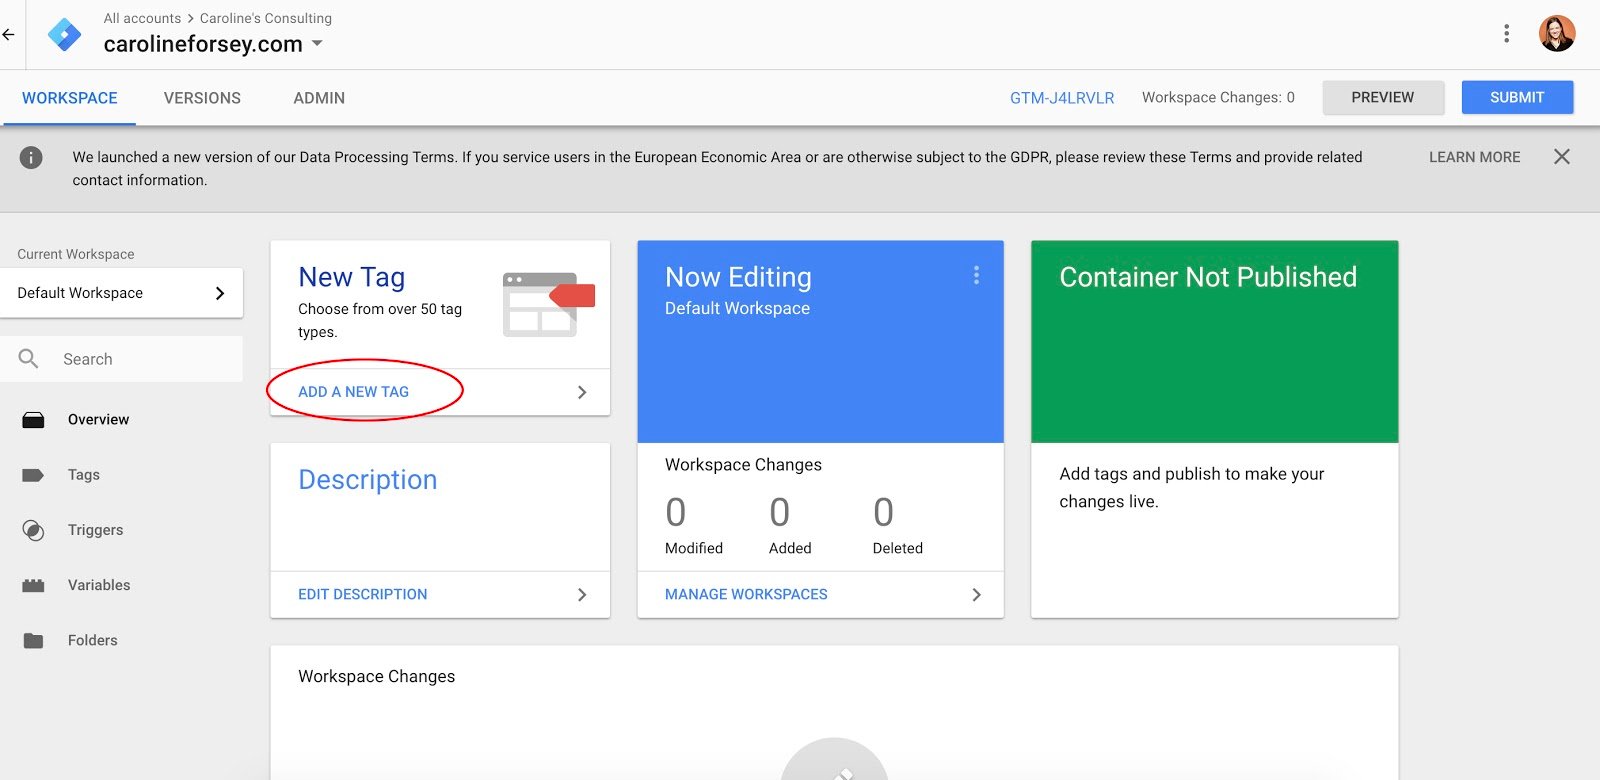
1. Create a new tag in the Google Tag Manager dashboard.
Within your Google Tag Manager dashboard, click the “Add a New Tag” button, circled below in red.
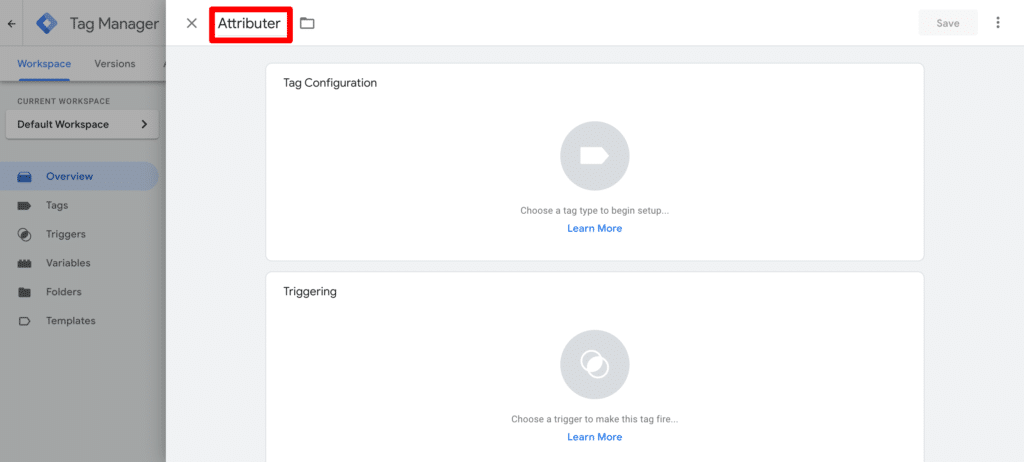
2. Name your tag
In the top left corner of the box that appears, enter a name for your tag. You can choose to name the tag whatever you want, but we’d recommend calling it something simple like ‘Attributer’ so you can easily identify it.
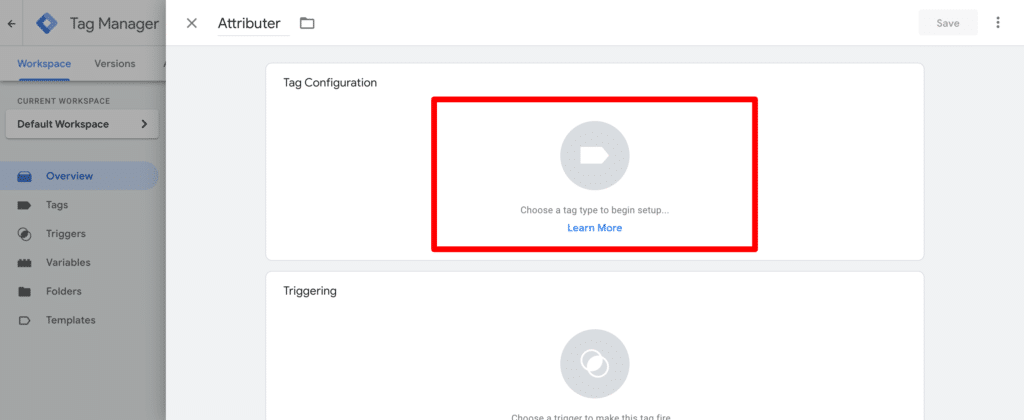
3. Enter the Attributer Code
Next step is to click on the ‘Tag Configuration’ section to open up the tag settings section where you can enter the Attributer code.
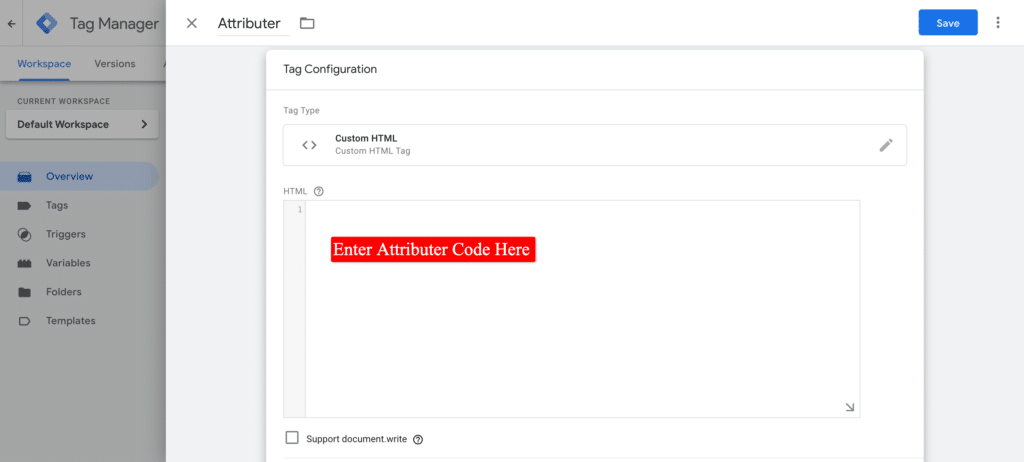
Next, a long list of possible tags that you can add will appear. To enter the Attributer code, select the ‘Custom HTML’ option.
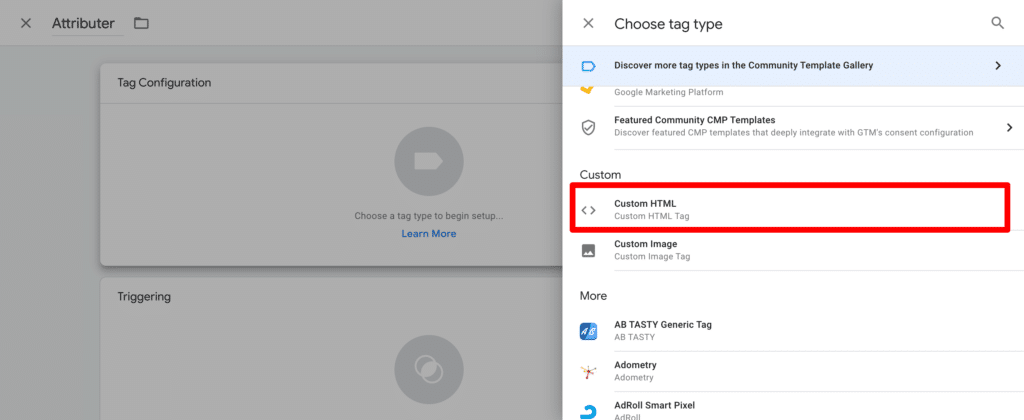
Once you’ve selected the Custom HTML option, a box will appear where you can enter the Attributer code that you can find on the Dashboard of your account.
4. Choose a trigger
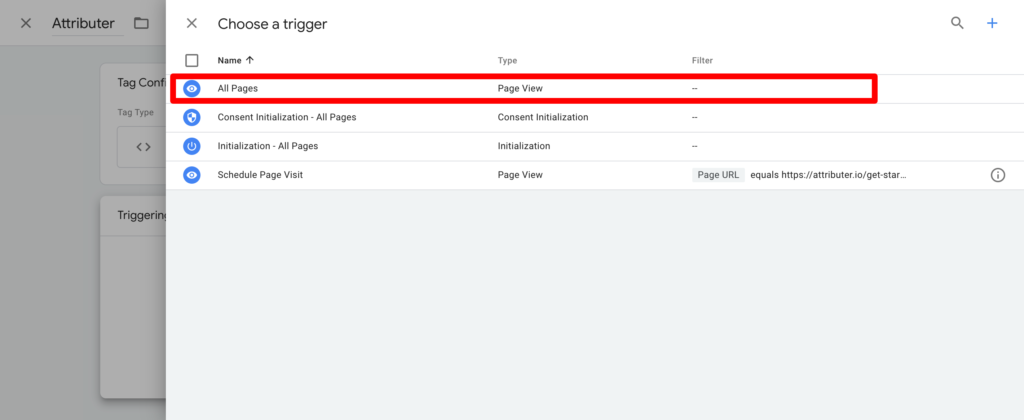
Next, click on the Triggering section below the box where you entered the Attributer code.

This will bring up the available Triggers. One of the options in the list will be ‘All Pages’. Select that option.
5. Save your tag.
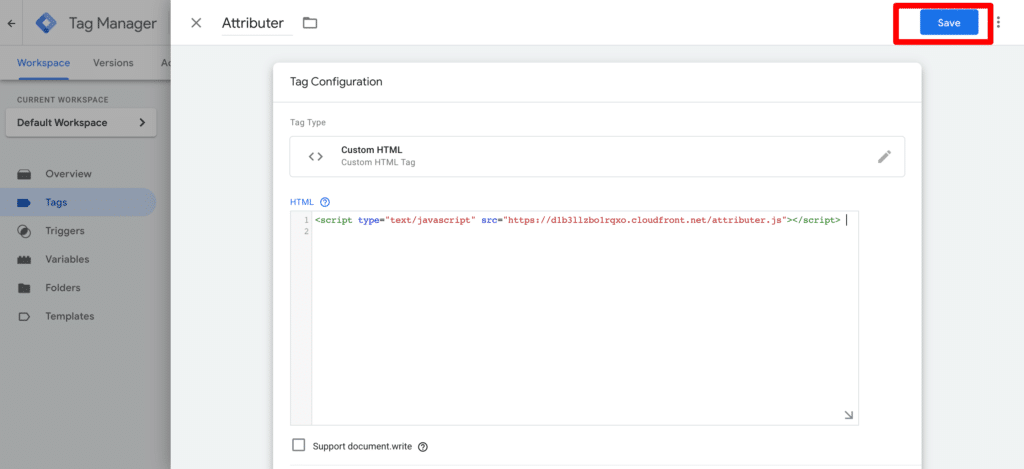
Once you’ve entered the Attributer code in the Tag Configuration box and selected ‘All Pages’ and Triggering box, click the blue “Save” button.
6. Publish your tag
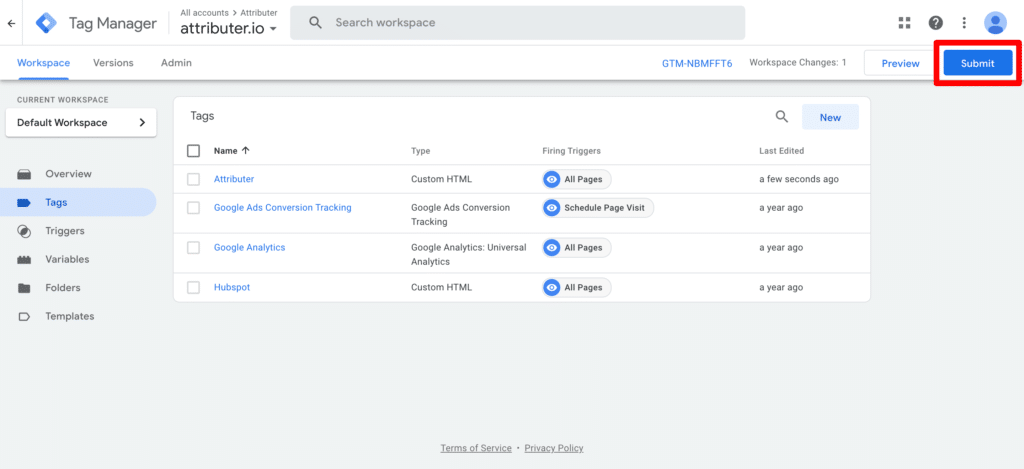
The changes you have made will only go live on your website once you ‘Publish’ them. To do that, click the ‘Submit’ button in the top right corner.
Once you click ‘Submit’, you’ll be taken to the Submission Configuration”page. Make sure the ‘Publish and Create Version’ option is selected in the bar at the top.
Next, give this new version of your Google Tag Manager configuration a name so that you can recognise what was changed in this version. We’d recommend something like ‘Added Attributer’
You can also give this new version a description. Something like ‘Added the Attributer code to the site’ will do.
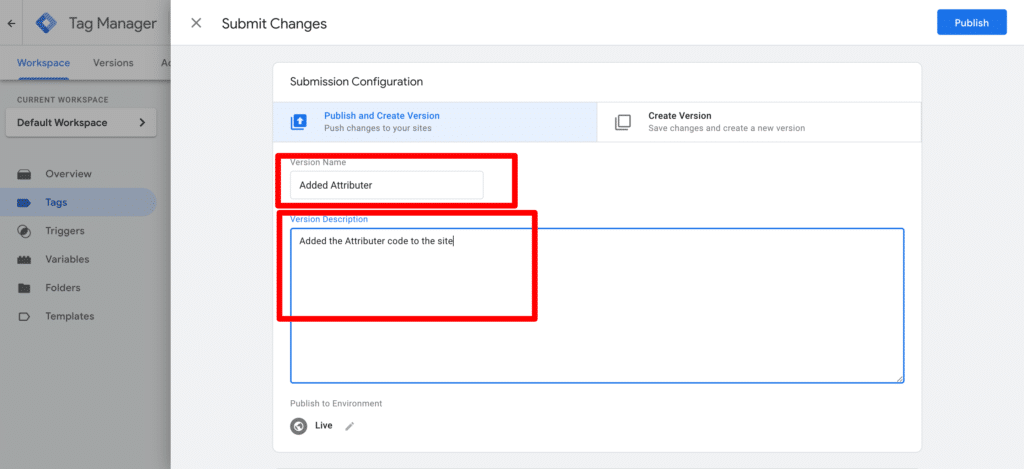
Once you’re done adding the name and description, click the Publish button in the top right corner.
7. Ensure your tag appears in your “Version Summary” report.
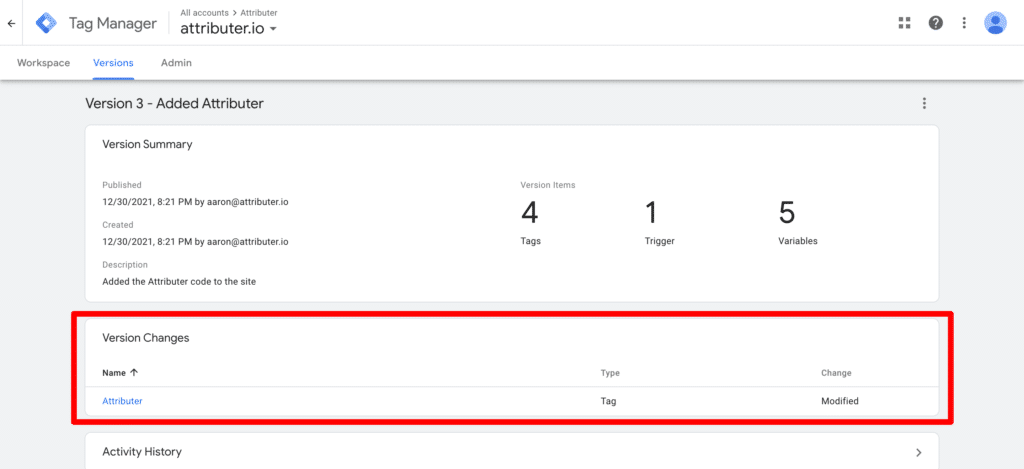
After you click the Publish button, you’ll be redirected to the Version Summary report which shows an overview of the new version of your Tag Manager configuration.
To confirm the changes have been successfully published, look for the Attributer tag in the ‘Version Changes’ section.
8. Test that Attributer has successfully been added to your site
To test that Attributer has been successfully added to your site, follow these instructions.
Can't find the answer you need? Contact us!
Our team are available to answer any questions you have
