Help Center
Add hidden fields to GoHighLevel forms
GoHighLevel is an all-in-one CRM and marketing automation platform that includes a form builder.
Attributer can pass through marketing attribution information with each submission of your GoHighLevel forms. Simply follow the steps below to set it up.
1. Add 6x custom fields to your contact records
Before you can add hidden fields to your forms, you first need to add them to the contact record. This then allows you to add the fields to your forms (and gives GoHighLevel a spot to store the data that Attributer passes in).
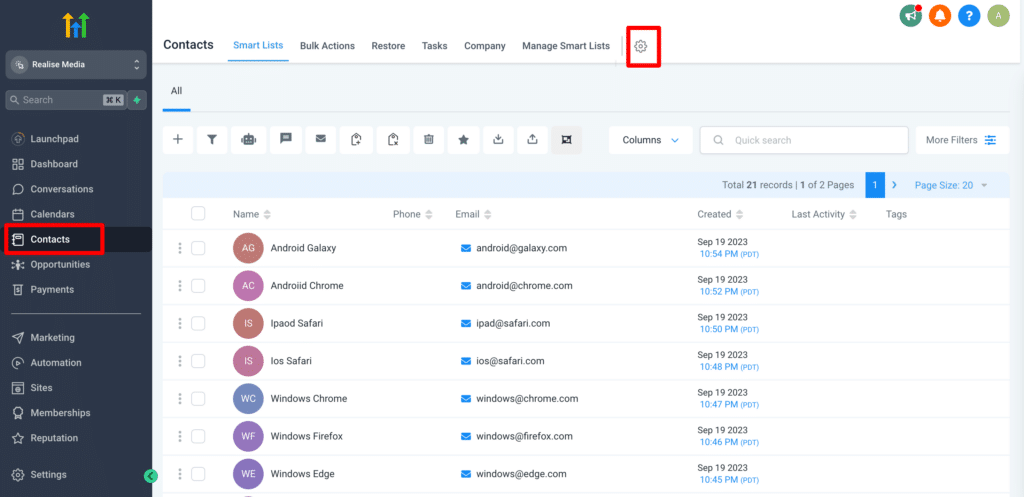
To do that, first navigate to the Contacts section of GoHighLevel and select the settings icon in the top right.
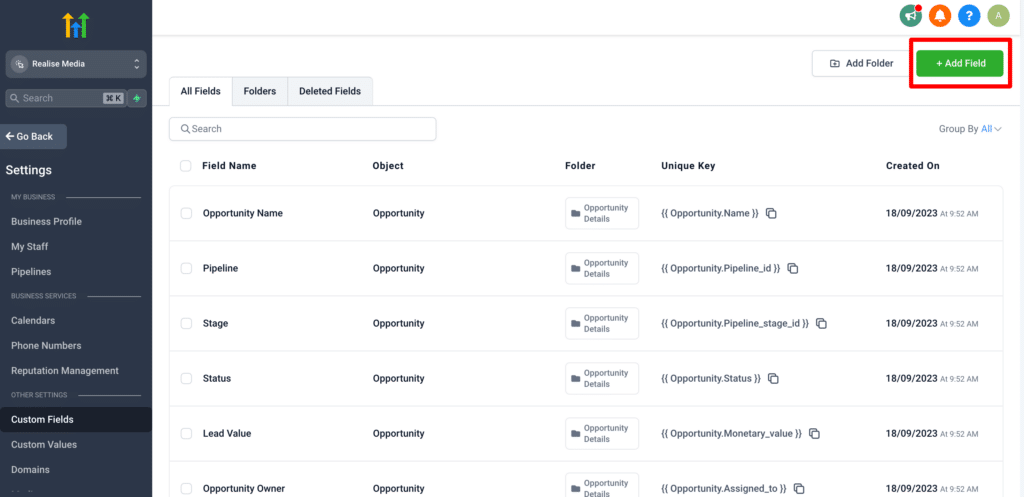
Once in the Contact Settings section, select the ‘Add Field’ button in the top right corner.
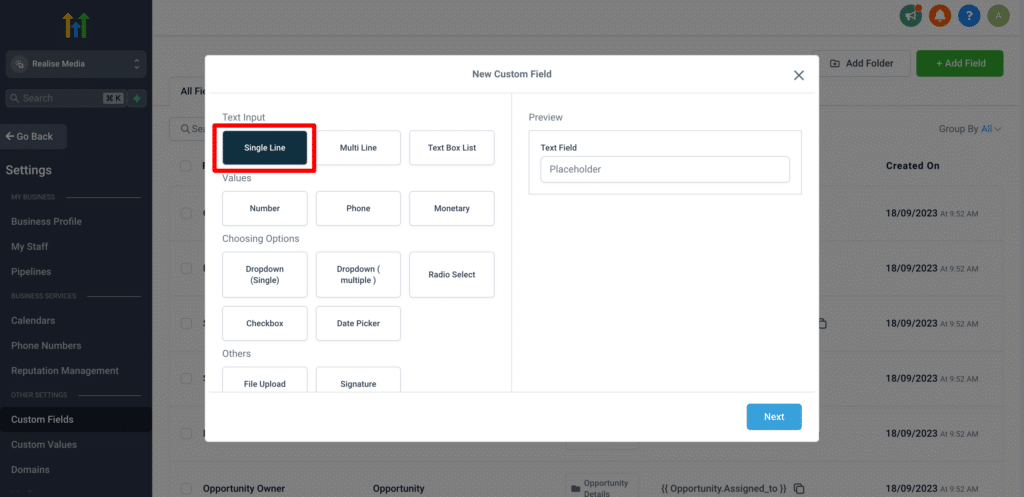
In the popup that appears, select the ‘Single Line’ option.
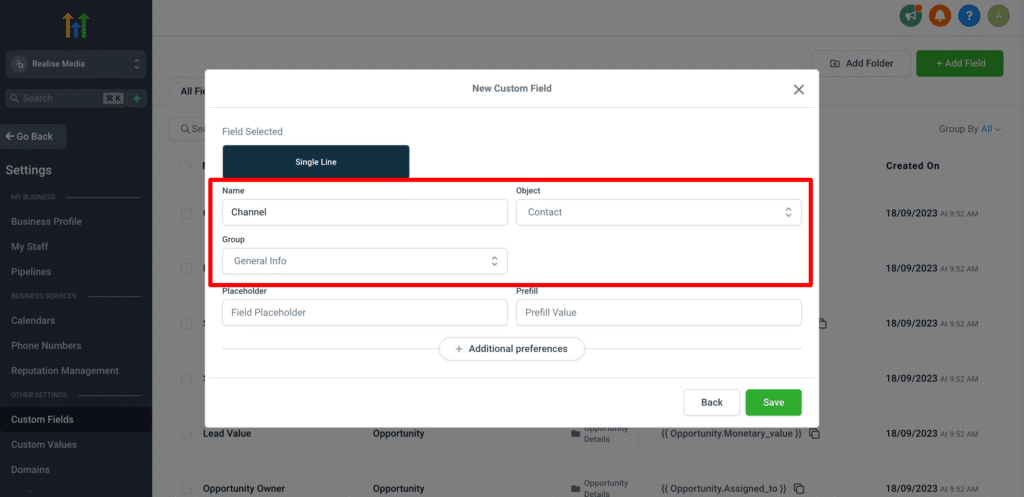
Finally, in the next popup, enter the following details into the fields:
- Name = Channel
- Object = Contact
- Group = Select which field group you want this field to be a part of on the Contact record. If you don’t know what this is, just select ‘General Info’
It should ultimately look a bit like this:
Congratulations! You’ve now added the first field. You then need to repeat this process 5 more times to add the rest of the fields that Attributer requires. The information you’ll need to enter is as follows:
Field 2
- Field type = Single Line
- Name = Channel Drilldown 1
- Object = Contact
- Group = General Info (or wherever you chose to put the first field)
Field 2
- Field type = Single Line
- Name = Channel Drilldown 2
- Object = Contact
- Group = General Info (or wherever you chose to put the first field)
Field 2
- Field type = Single Line
- Name = Channel Drilldown 3
- Object = Contact
- Group = General Info (or wherever you chose to put the first field)
Field 2
- Field type = Single Line
- Name = Landing Page
- Object = Contact
- Group = General Info (or wherever you chose to put the first field)
Field 2
- Field type = Single Line
- Name = Landing Page Group
- Object = Contact
- Group = General Info (or wherever you chose to put the first field)
2. Add the new fields to your form
Now that you’ve created these new fields in GoHighLevel, it’s time to add them to your form.
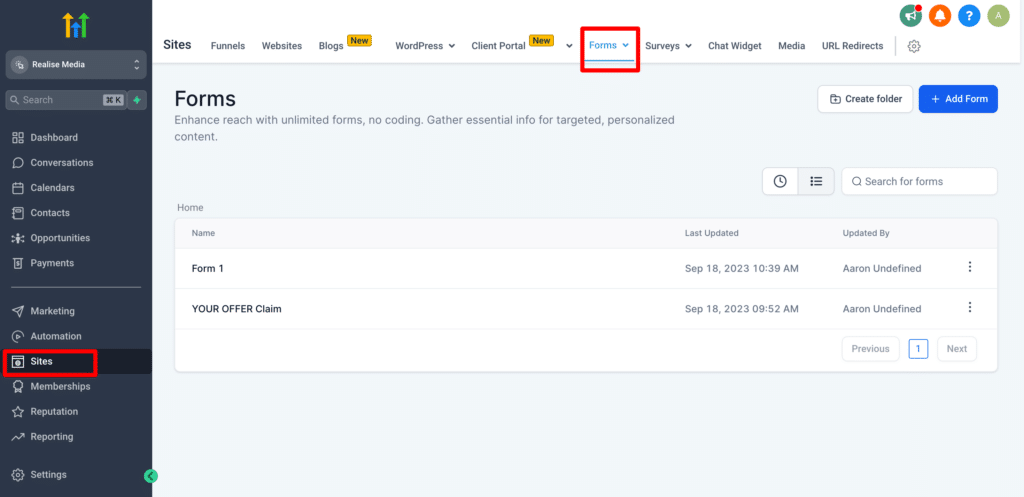
To do that, navigate to the Forms section of GoHighLevel by selecting the ‘Sites’ option from the left sidebar and then the ‘Forms’ option from the top menu.
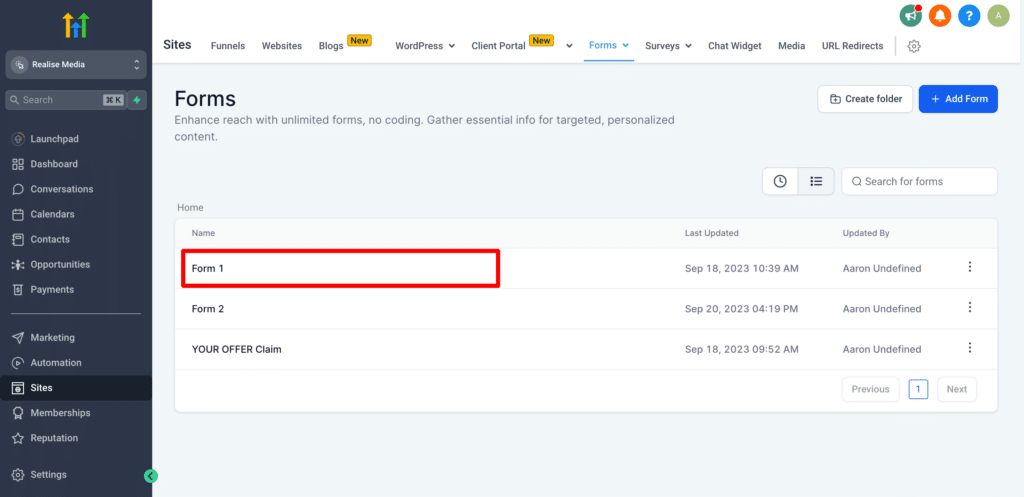
Next, select the form you want Attributer to work with to open it in the editor.
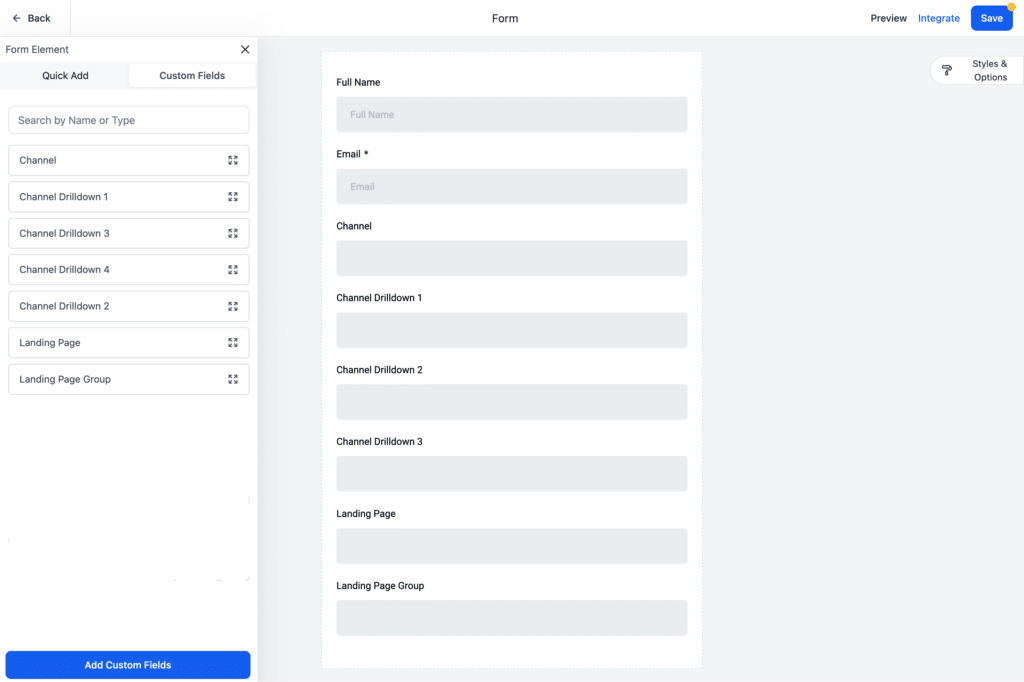
Once the form is open in the builder, select the ‘Add Form Element’ button, select the ‘Custom Fields’ tab and you should see the fields you just added in Step 1 there.

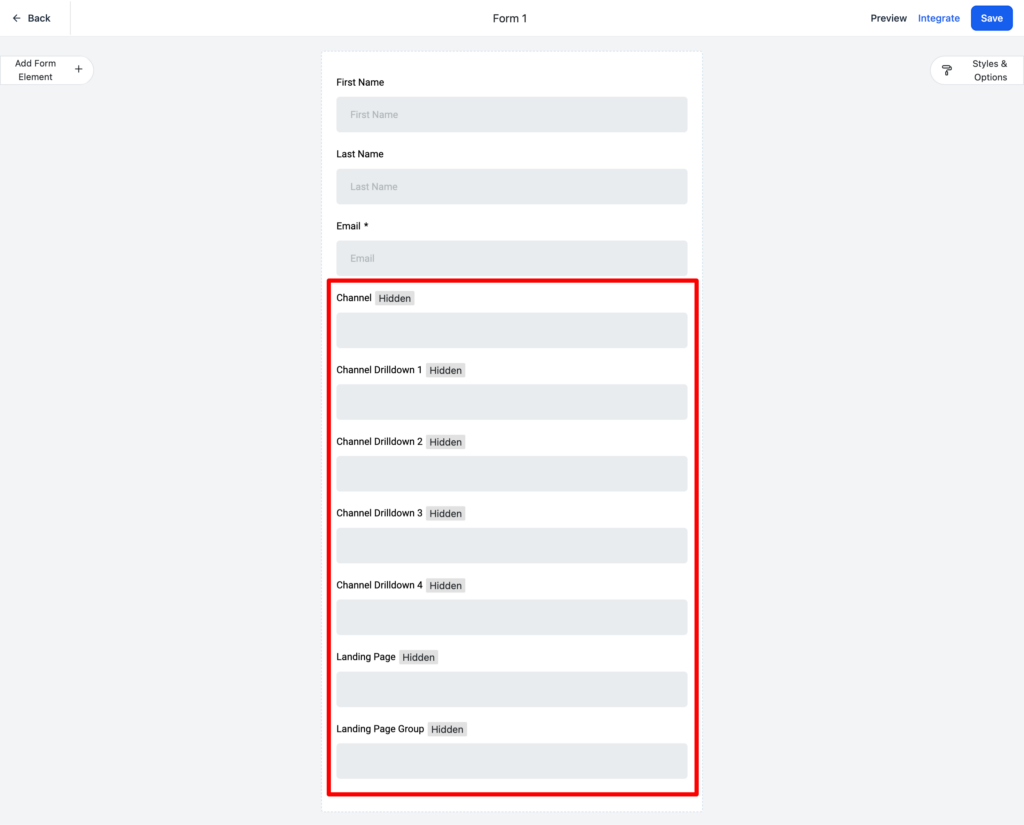
Drag and drop each of them into the form so that it looks a bit like this:
3. Configure the fields
Now that you’ve added the fields to your form, it’s time to configure them.
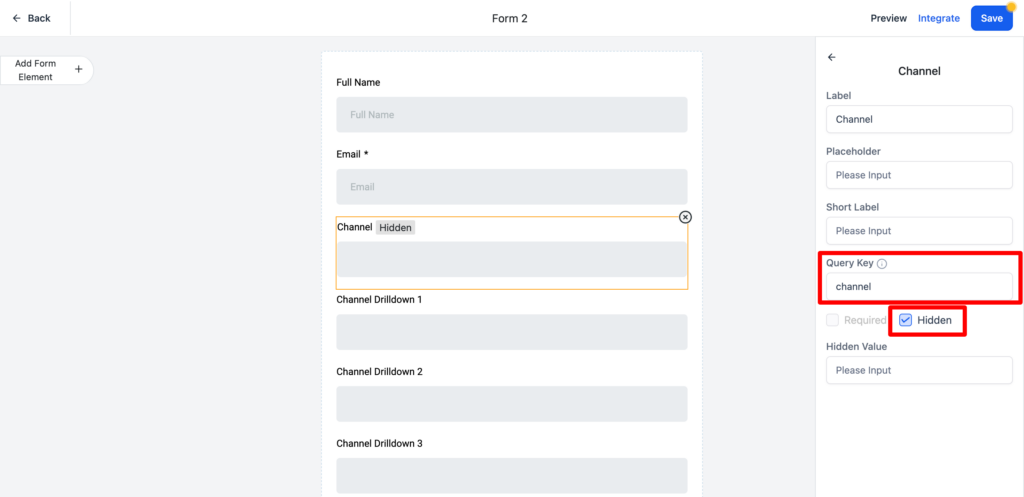
To do that, click the ‘Channel’ field and a sidebar will appear on the right that allows you to edit the field’s properties. Make sure the ‘Hidden’ tickbox is ticked and that the ‘Query Parameter’ fields is equal to ‘channel’. It should look a bit like the below:
Congratulations! You’ve now configured the first field!
You then need to repeat this process for the other 5x fields on the form, using the following information:
Channel Drilldown 1 Field
- Hidden Tickbox = Ticked
- Query Key = channeldrilldown1
Channel Drilldown 2 Field
- Hidden Tickbox = Ticked
- Query Key = channeldrilldown2
Channel Drilldown 3 Field
- Hidden Tickbox = Ticked
- Query Key = channeldrilldown3
Landing Page Field
- Hidden Tickbox = Ticked
- Query Key = landingpage
Landing Page Group Field
- Hidden Tickbox = Ticked
- Query Key = landingpagegroup
Ultimately, your form should look a bit like this:
4. Add the embed code
The next thing you need to do is add the embed code on your website (assuming you don’t have ti on your site already).
If you don’t already have the embed code for this particular form on your website, you can get it by clicking the ‘Integrate’ button in the top right corner and then selecting the ‘Copy Embed Code’ button.
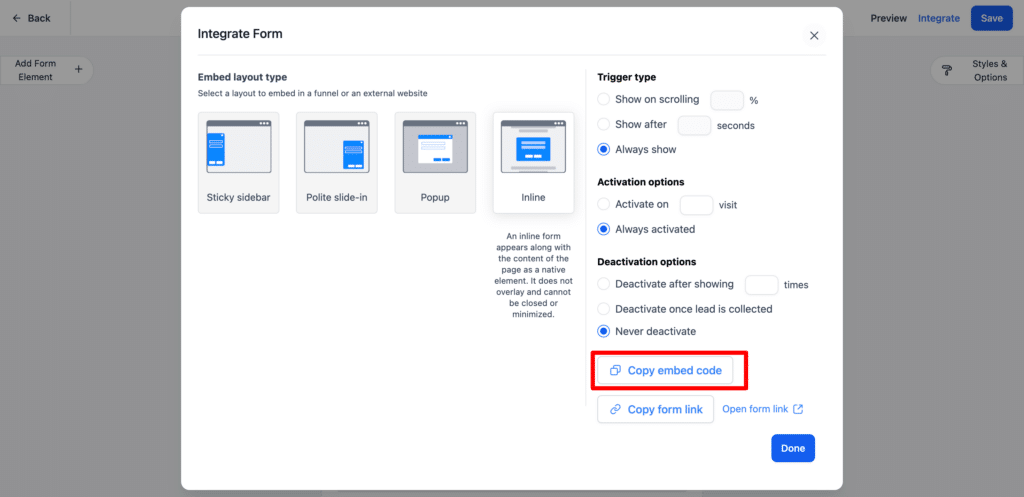
You then need to go to wherever you want the form to appear on your site and paste the copied embed code in.
5. Add some additional code
The final thing you need to do is add an additional bit of code below the original embed code.
The code is:
<script>
(() => {
    function waitForAttrib() {
        if (typeof FLBuilder !== 'undefined') {
            document.querySelectorAll("[data-hidden-iframe]").forEach(el => { el.style.opacity = "1"; });
            return;
        }
        if (!document.FlareTrk || !document.FlareTrk.data) {
            return window.requestAnimationFrame(waitForAttrib);
        }
        var url = new URL(window.location);
        var currentParams = new URLSearchParams(window.location.search);

        function setValue(name, value) {
            if (!currentParams.has(name) && !!value) {
                url.searchParams.set(name, value);
            }
        }

        setValue("channel", document.FlareTrk.data.drillData.channel);
        setValue("channeldrilldown1", document.FlareTrk.data.drillData.drillDown1);
        setValue("channeldrilldown2", document.FlareTrk.data.drillData.drillDown2);
        setValue("channeldrilldown3", document.FlareTrk.data.drillData.drillDown3);
        setValue("channeldrilldown4", document.FlareTrk.data.drillData.drillDown4);
        setValue("gclid", document.FlareTrk.data.gclid || "");
        setValue("msclkid", document.FlareTrk.data.msclkid || "");
        setValue("fbclid", document.FlareTrk.data.fbclid || "");
        setValue("id", document.FlareTrk.data.id || "");
        setValue("landingpage", document.FlareTrk.data.landing_url);
        setValue("testingdata", document.FlareTrk.data.test_data);
        setValue("landingpagegroup", document.FlareTrk.data.landing_page_group);

        for (var dp = 0; dp < document.FlareTrk.settings.customFields.length; dp++) {
            const key = document.FlareTrk.settings.customFields[dp];
            setValue(`custom-${key}`, document.FlareTrk.data["customFields"][key]);
        }

        window.history.replaceState({}, '', url.toString());
    }
    waitForAttrib();
})();
</script>
You need to copy and paste the above code directly beneath the original embed code provided by GoHighLevel, so it looks a bit like this:

6. Test it all works correctly
Now that you have completed all the setup steps, it’s time to make sure it’s all working correctly.
Can't find the answer you need? Contact us!
Our team are available to answer any questions you have
