Help Center
Add Hidden Fields to Jotform
Attributer is a little bit of code you add to your website. It tracks where your visitors are coming from (I.e. Paid Search, Paid Social, Organic Search, etc) and writes the data into hidden fields you add to your forms which is then captured in Jotform and can be sent to your CRM and other tools.
In order for it to work, you need to add a series of hidden fields to your Jotform forms. Here’s how to do it:
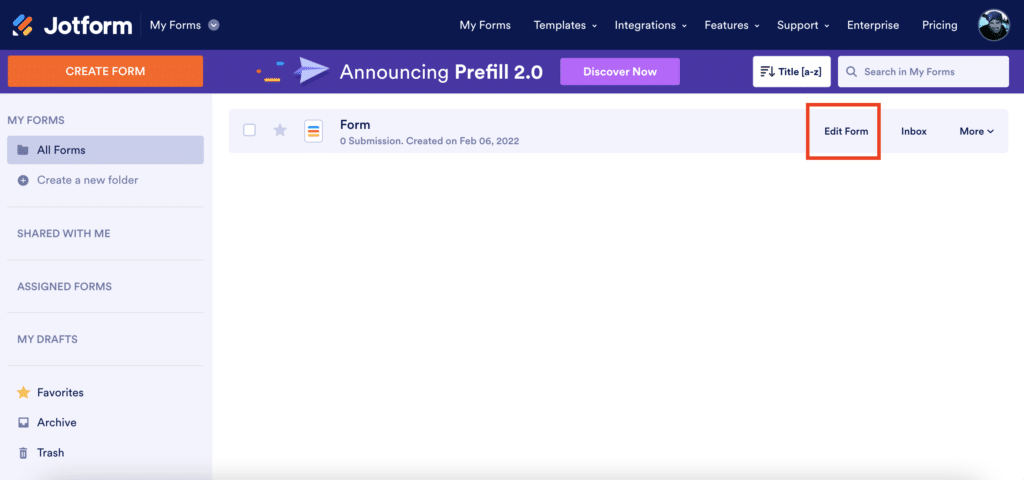
Step 1: Open the form you want Attributer to work with
In your Jotform account, click ‘Edit’ next to the form you want Attributer to work with.
Step 2: Add 6x ‘Short Text’ fields to the form
To add a ‘Short Text’ field to the form, simply drag and drop the ‘Hidden’ field type from the right hand menu into your form.
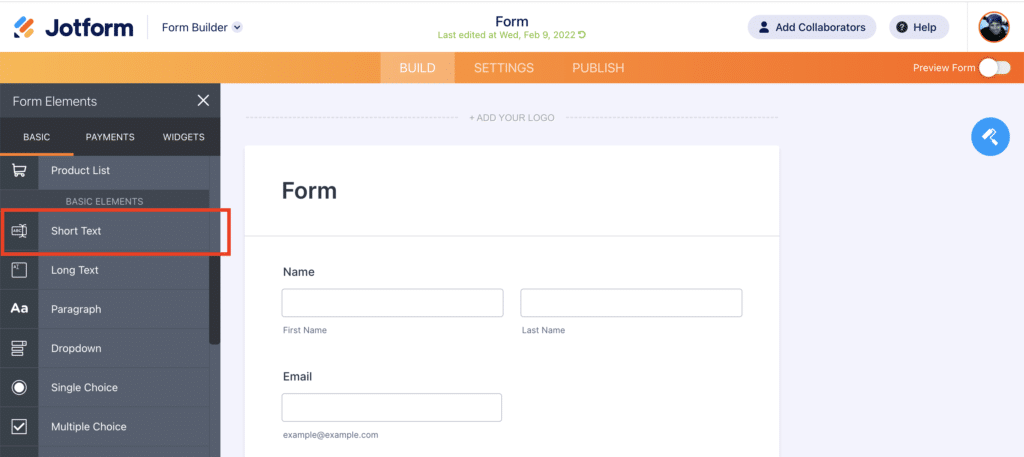
We recommend adding these fields below the other fields on your form that you want your visitors to complete.
To collect all the information that Attributer provides, you will need to drag and drop 6x hidden fields into your form.
Step 3: Configure the fields
Next, you need to configure each of the 6 fields you just added to your form to ensure that (a) they are not visible to users when they complete the form and (b) that Attributer knows which form fields to write the attribution data to.
To configure a field, simply click on the ‘Properties’ icon next to a field and the Properties panel will appear on the right hand side..
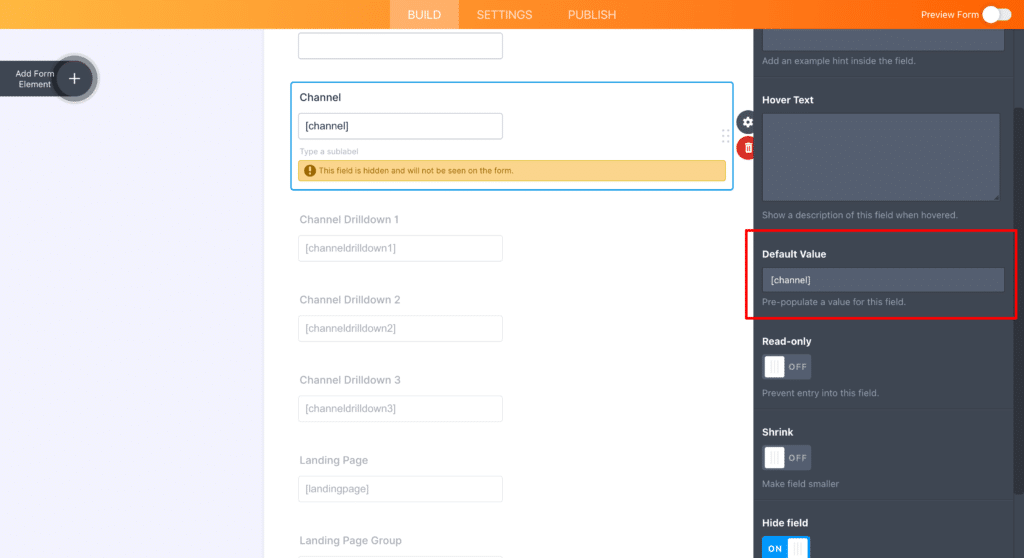
For each of the 6x hidden fields, add the following information:
Hidden Field #1
- Question Text = Channel
- Default Value = [channel]
- Hide Field = On
Hidden Field #2
- Question Text = Channel Drilldown 1
- Default Value = [channeldrilldown1]
- Hide Field = On
Hidden Field #3
- Question Text = Channel Drilldown 2
- Default Value = [channeldrilldown2]
- Hide Field = On
Hidden Field #4
- Question Text = Channel Drilldown 3
- Default Value = [channeldrilldown3]
- Hide Field = On
Hidden Field #5
- Question Text = Landing Page
- Default Value = [landingpage]
- Hide Field = On
Hidden Field #6
- Question Text = Landing Page Group
- Default Value = [landingpagegroup]
- Hide Field = On
Step 4: Modify the embed code on your website
The next step is to modify the embed code you use to place the form on your website.
Jotform has two different types of forms, Classic Forms and Card Forms. The method for embedding the form on your website so that it works with Attributer is different depending on which one you are using so make sure to follow the correct instructions below.
If you’re using a ‘Classic Form’
If the form you created is a ‘Classic Form’ then the next steps in setting Attributer up vary depending on what embed method you use. Click one of the links below for further instructions for setting up Attributer with your chosen embed method:


If you’re using a ‘Card Form’
If you’re using a card form, then you need to follow these instructions for embedding the form on your website.
A final note
We understand editing code can be a bit scary, so if you need help then we are happy to jump on a video call with you and walk you through it. Feel free to contact us here.
Can't find the answer you need? Contact us!
Our team are available to answer any questions you have
